Tudor Brocade Doublet and Venitia Hose
Part 1 - Planning & Materials
After displaying the trim for the Charles IX garb at an Arts & Sciences competition, I was feeling particularly inspired to continue on that project. However, after spending more than 300 hours on less than half of the trim, I was absolutely uninterested in trying to apply it to anything unless the doublet I was to apply it to was perfectly tailored.
While I'd already created a few doublets, the fit has never felt quite right, often being too tight across the back, under the arms, or simply not hanging with the elegant look that defines Tudor clothing. As such, I wanted to make a new doublet, again using the pattern from the Tudor Tailor as a base, but beginning to experiment to see if I could improve the fit. Unlike with the slashed doublet, I also decided I would conform to the later period style befitting my persona and go with a peascod belly.
At a recent weekly populace meeting, Mistress Elsait had decided to unload some of her fabric stash and I picked up a gorgeous roll of brocade fabric, likely intended for upholstery. However, it fit the color scheme I often try to use with blues and golds, reflecting my heraldry. I particularly liked the weight of the material because Tudor garb was often relatively stiff, giving clean lines and this would work to that end.
I also wanted to push myself on construction. On previous doublets, I had skipped some steps. Most notably, the Tudor Tailor includes an interfacing layer with padding which helps shape things and also create the cleaner lines previously mentioned. I often left this out because the garb in period was designed for a colder climate and I try to remove additional insulation due to Calontir being qutie warm for most of the year. But this time, I would follow the instructions as faithfully as possible even if I had to alter the fit. This meant including some batting for which I selected a basic cotton batting.
To compliment the blue and gold pattern in the fabric, I decided to use some of my stash of gold linen for lining. Keeping with the heraldic color scheme, I wanted to have green bottom. After the unpleasant experience I had with trunkhose, I decided to go another route and quite liked the look of the Venitian hose (which got bonus points for pockets). I decided to use the same dark green and chevron fabric as I had for the hose that accompanied the slashed doublet which was a cotton fabric with a soft felt like texture. Again, these would be lined with the gold linen.
Lastly, I knew that I would want the Charles IX garb to be as close to period as possible including being hand sewn. However, all previous garb I've made was always done on a machine. Thus, I knew I wanted to hand sew this set of garb to begin understanding the differences in technique necessary.
Part 2 - Drafting and Cutting
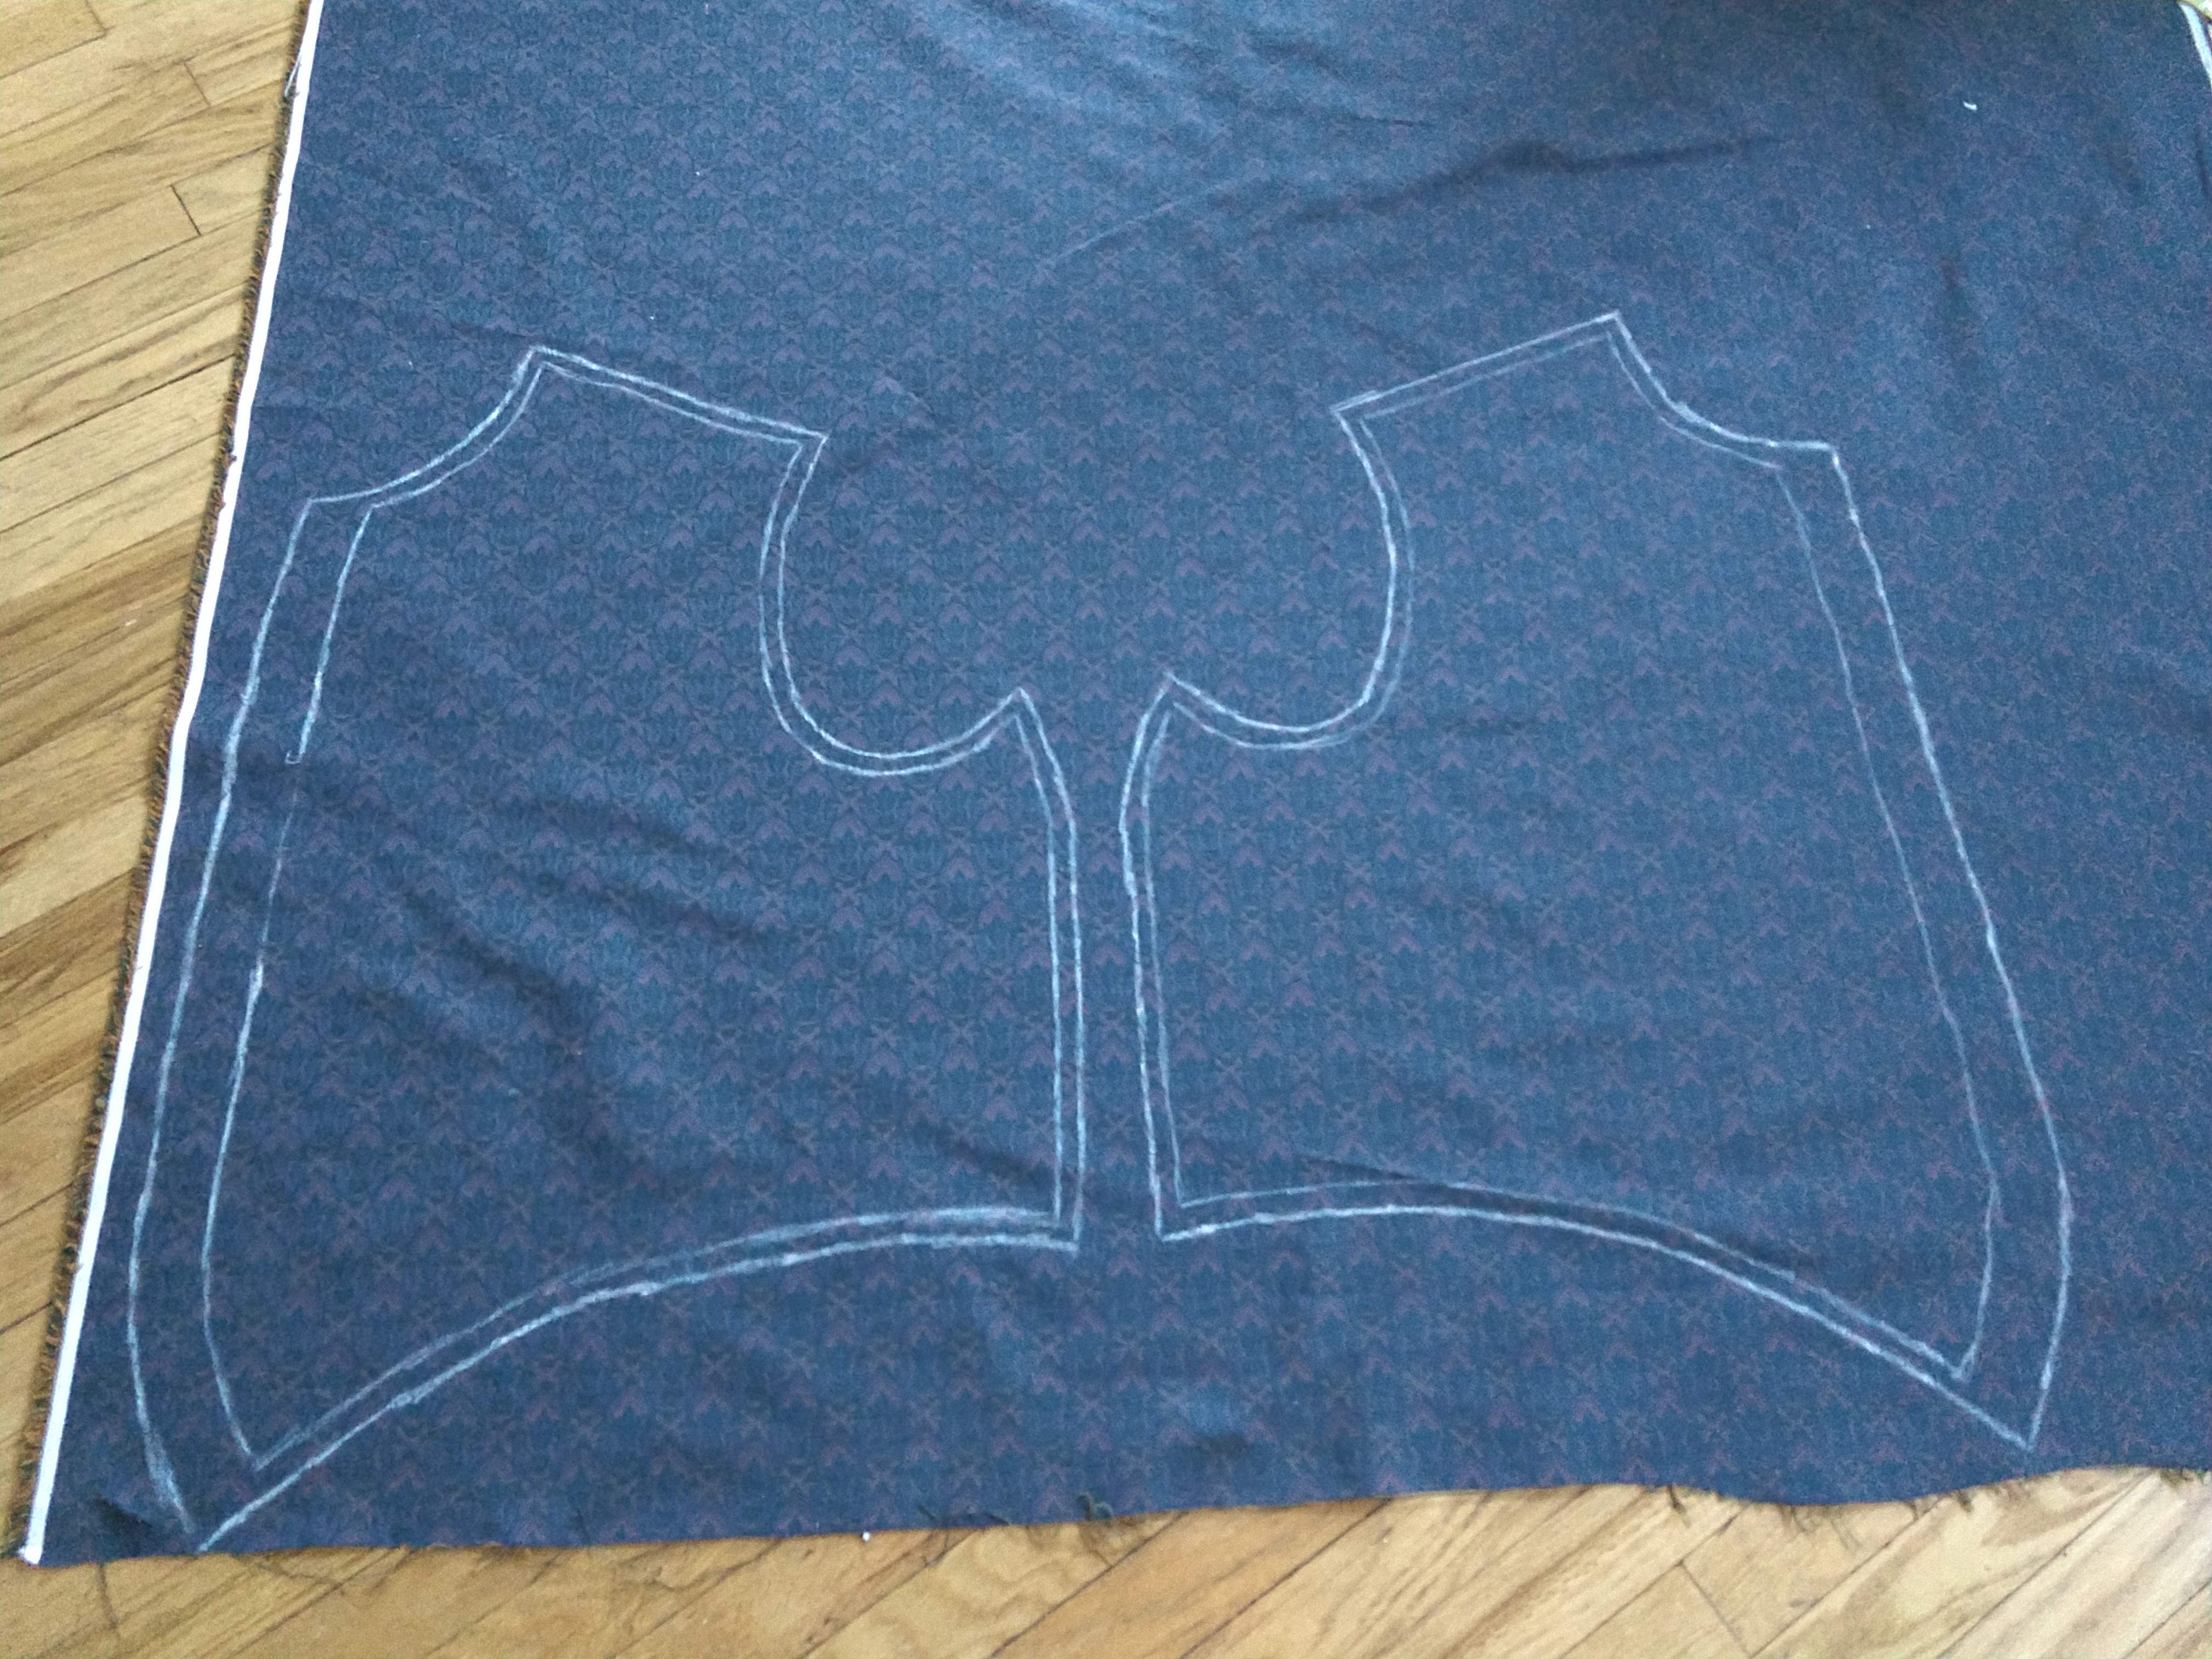 I began by retaking all my measurements. Whereas previously I used geometrical construction copied from the Tudor Tailor's proportions, this time I considered the places previous doublets felt tight and ensured that there was sufficient room in those areas by first laying out key reference points. From there, I sketched the general outline, connecting those key points and then seam allowances added. Extra room was left along the front seam as the interfacing layer needed to stop short of this seam as to not intefere with the button holes.
 Once cut out, this shape was then traced onto a light cotton that would be used as the base for the interfacing layer. The same shape was traced onto the gold linen that would be used for the lining. In addition, I also traced all pieces onto muslin, labeling them in hopes that the results of this would be a sufficiently good fit that the pattern could be reused for the Charles IX garb.
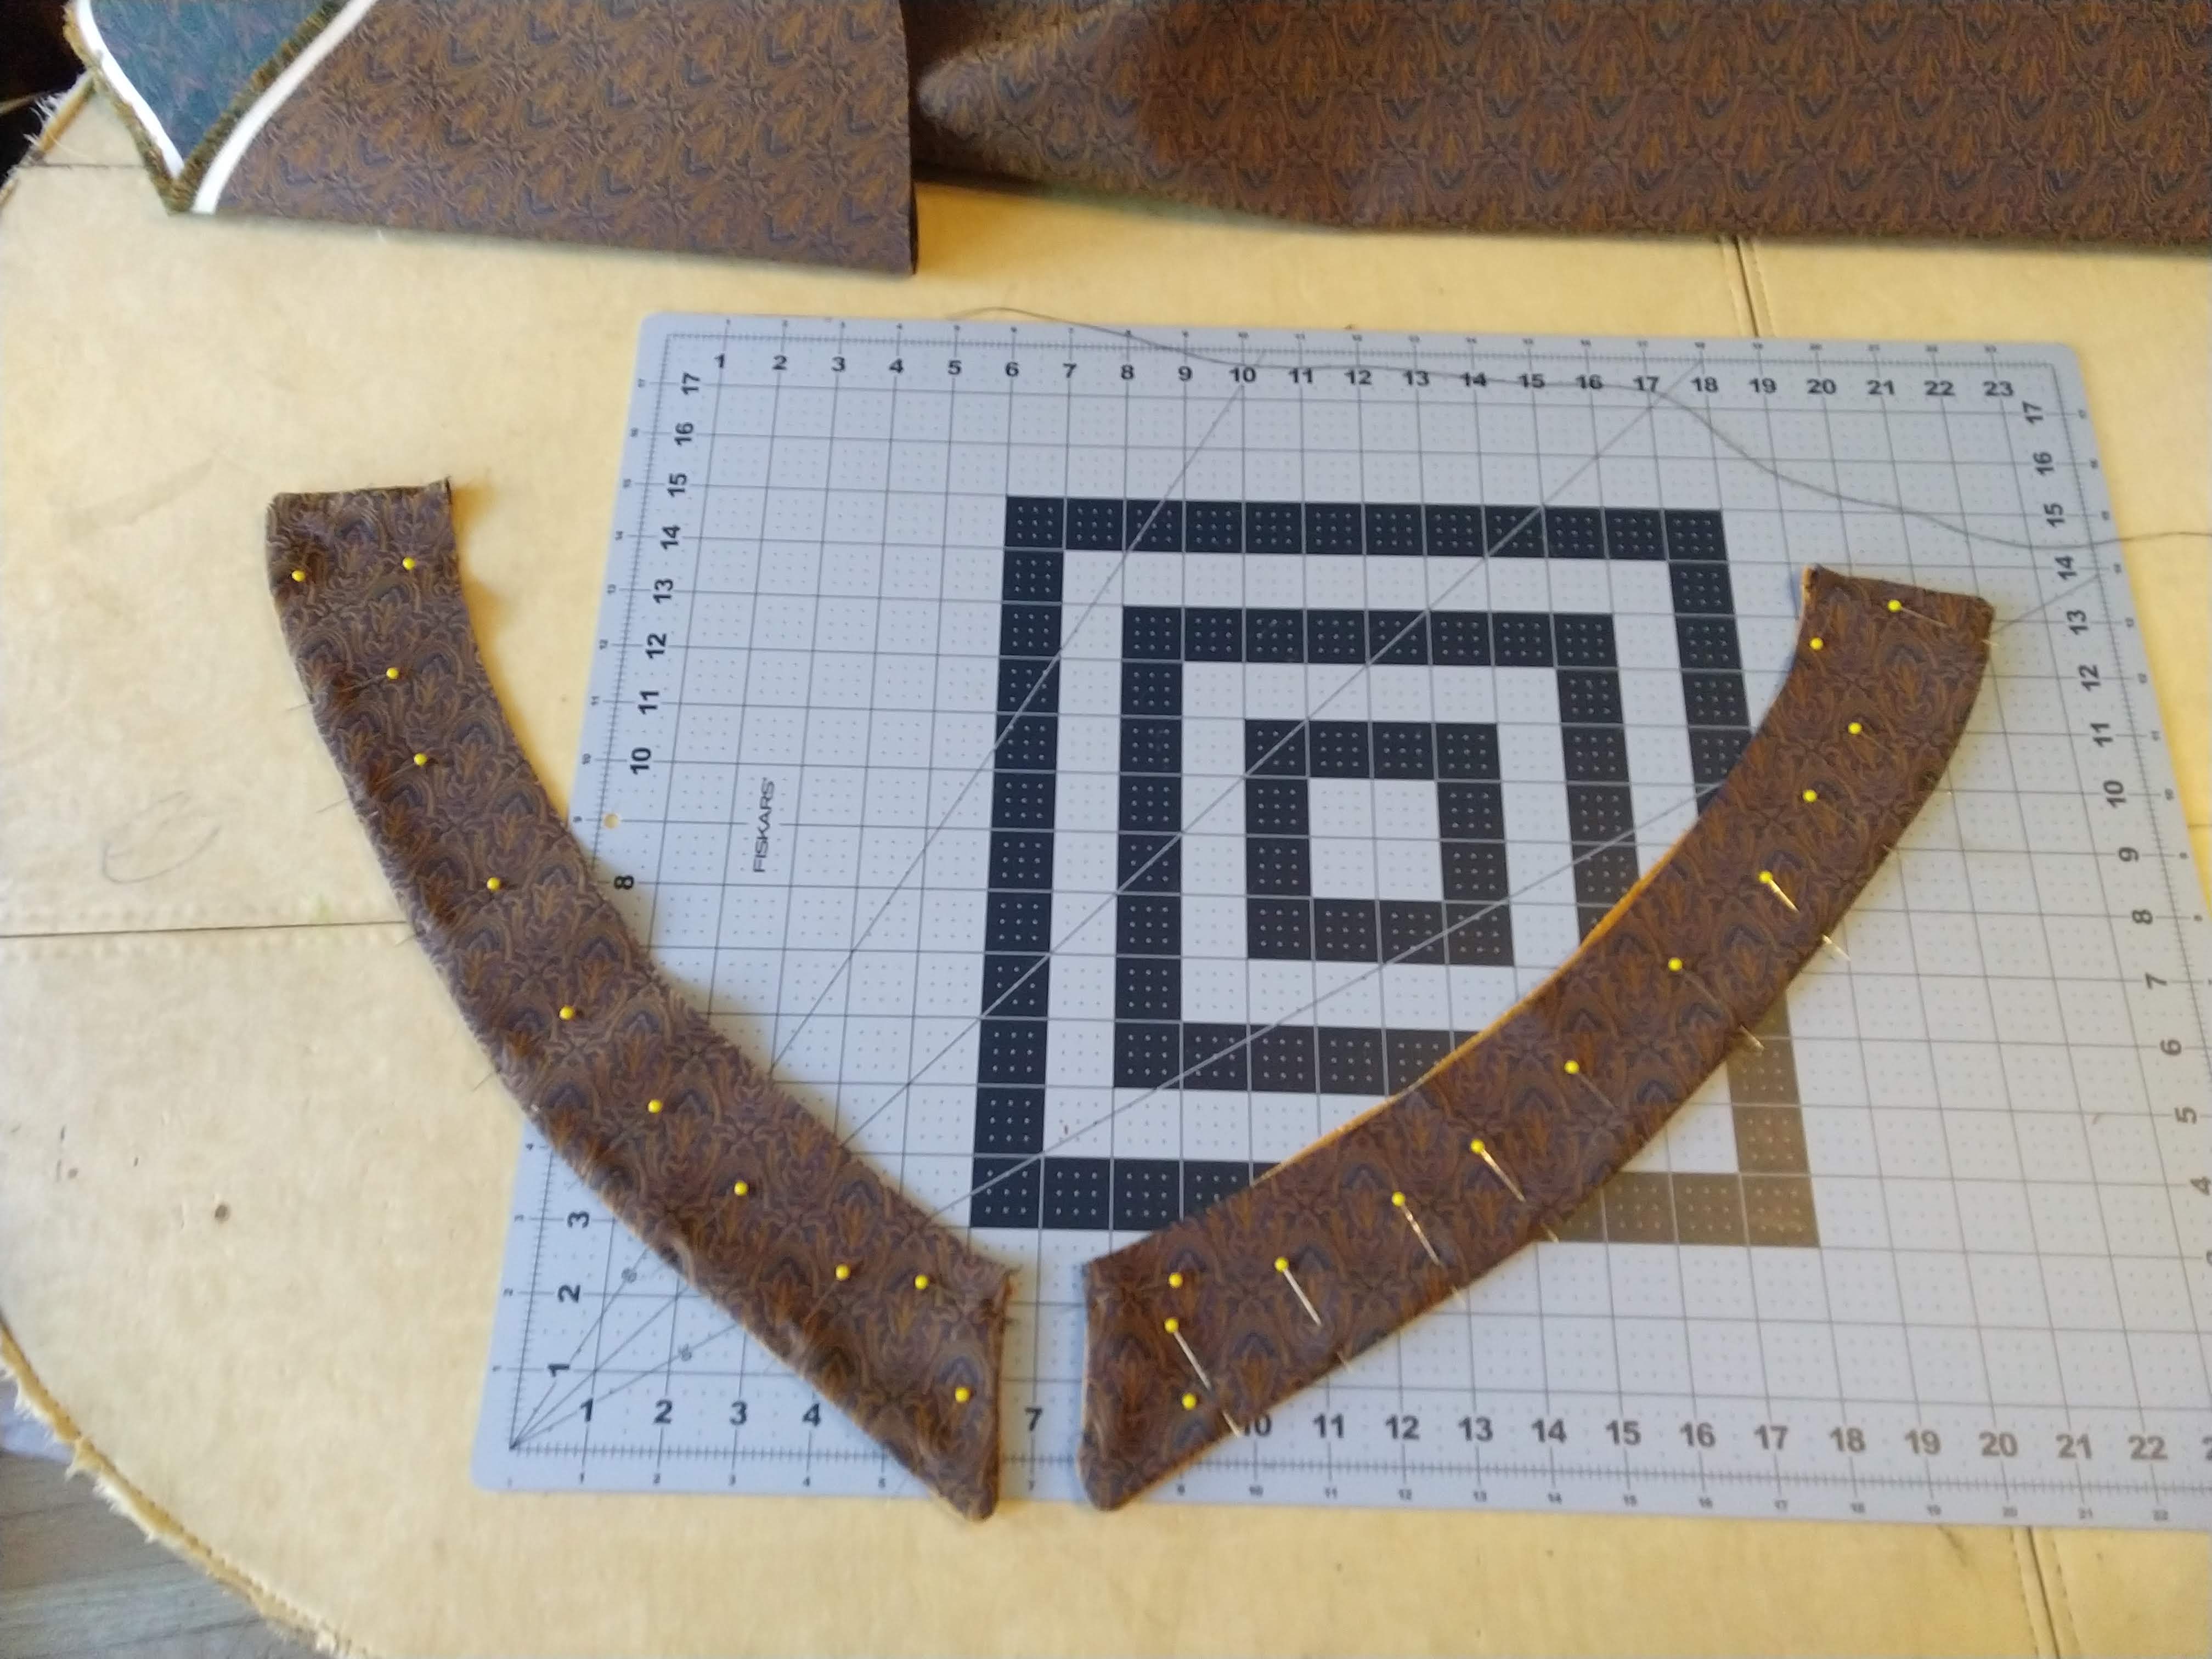
Given that the Venitian hose are far from form fitting, less planning was required to lay this out on the fabric. For these, I followed the Tudor Tailor proportions exactly, ensuring only that the waist measurement was correct. Once that shape was laid out, it was again copied onto layers of heavy interfacing as well as the lining.
Part 3 - Construction
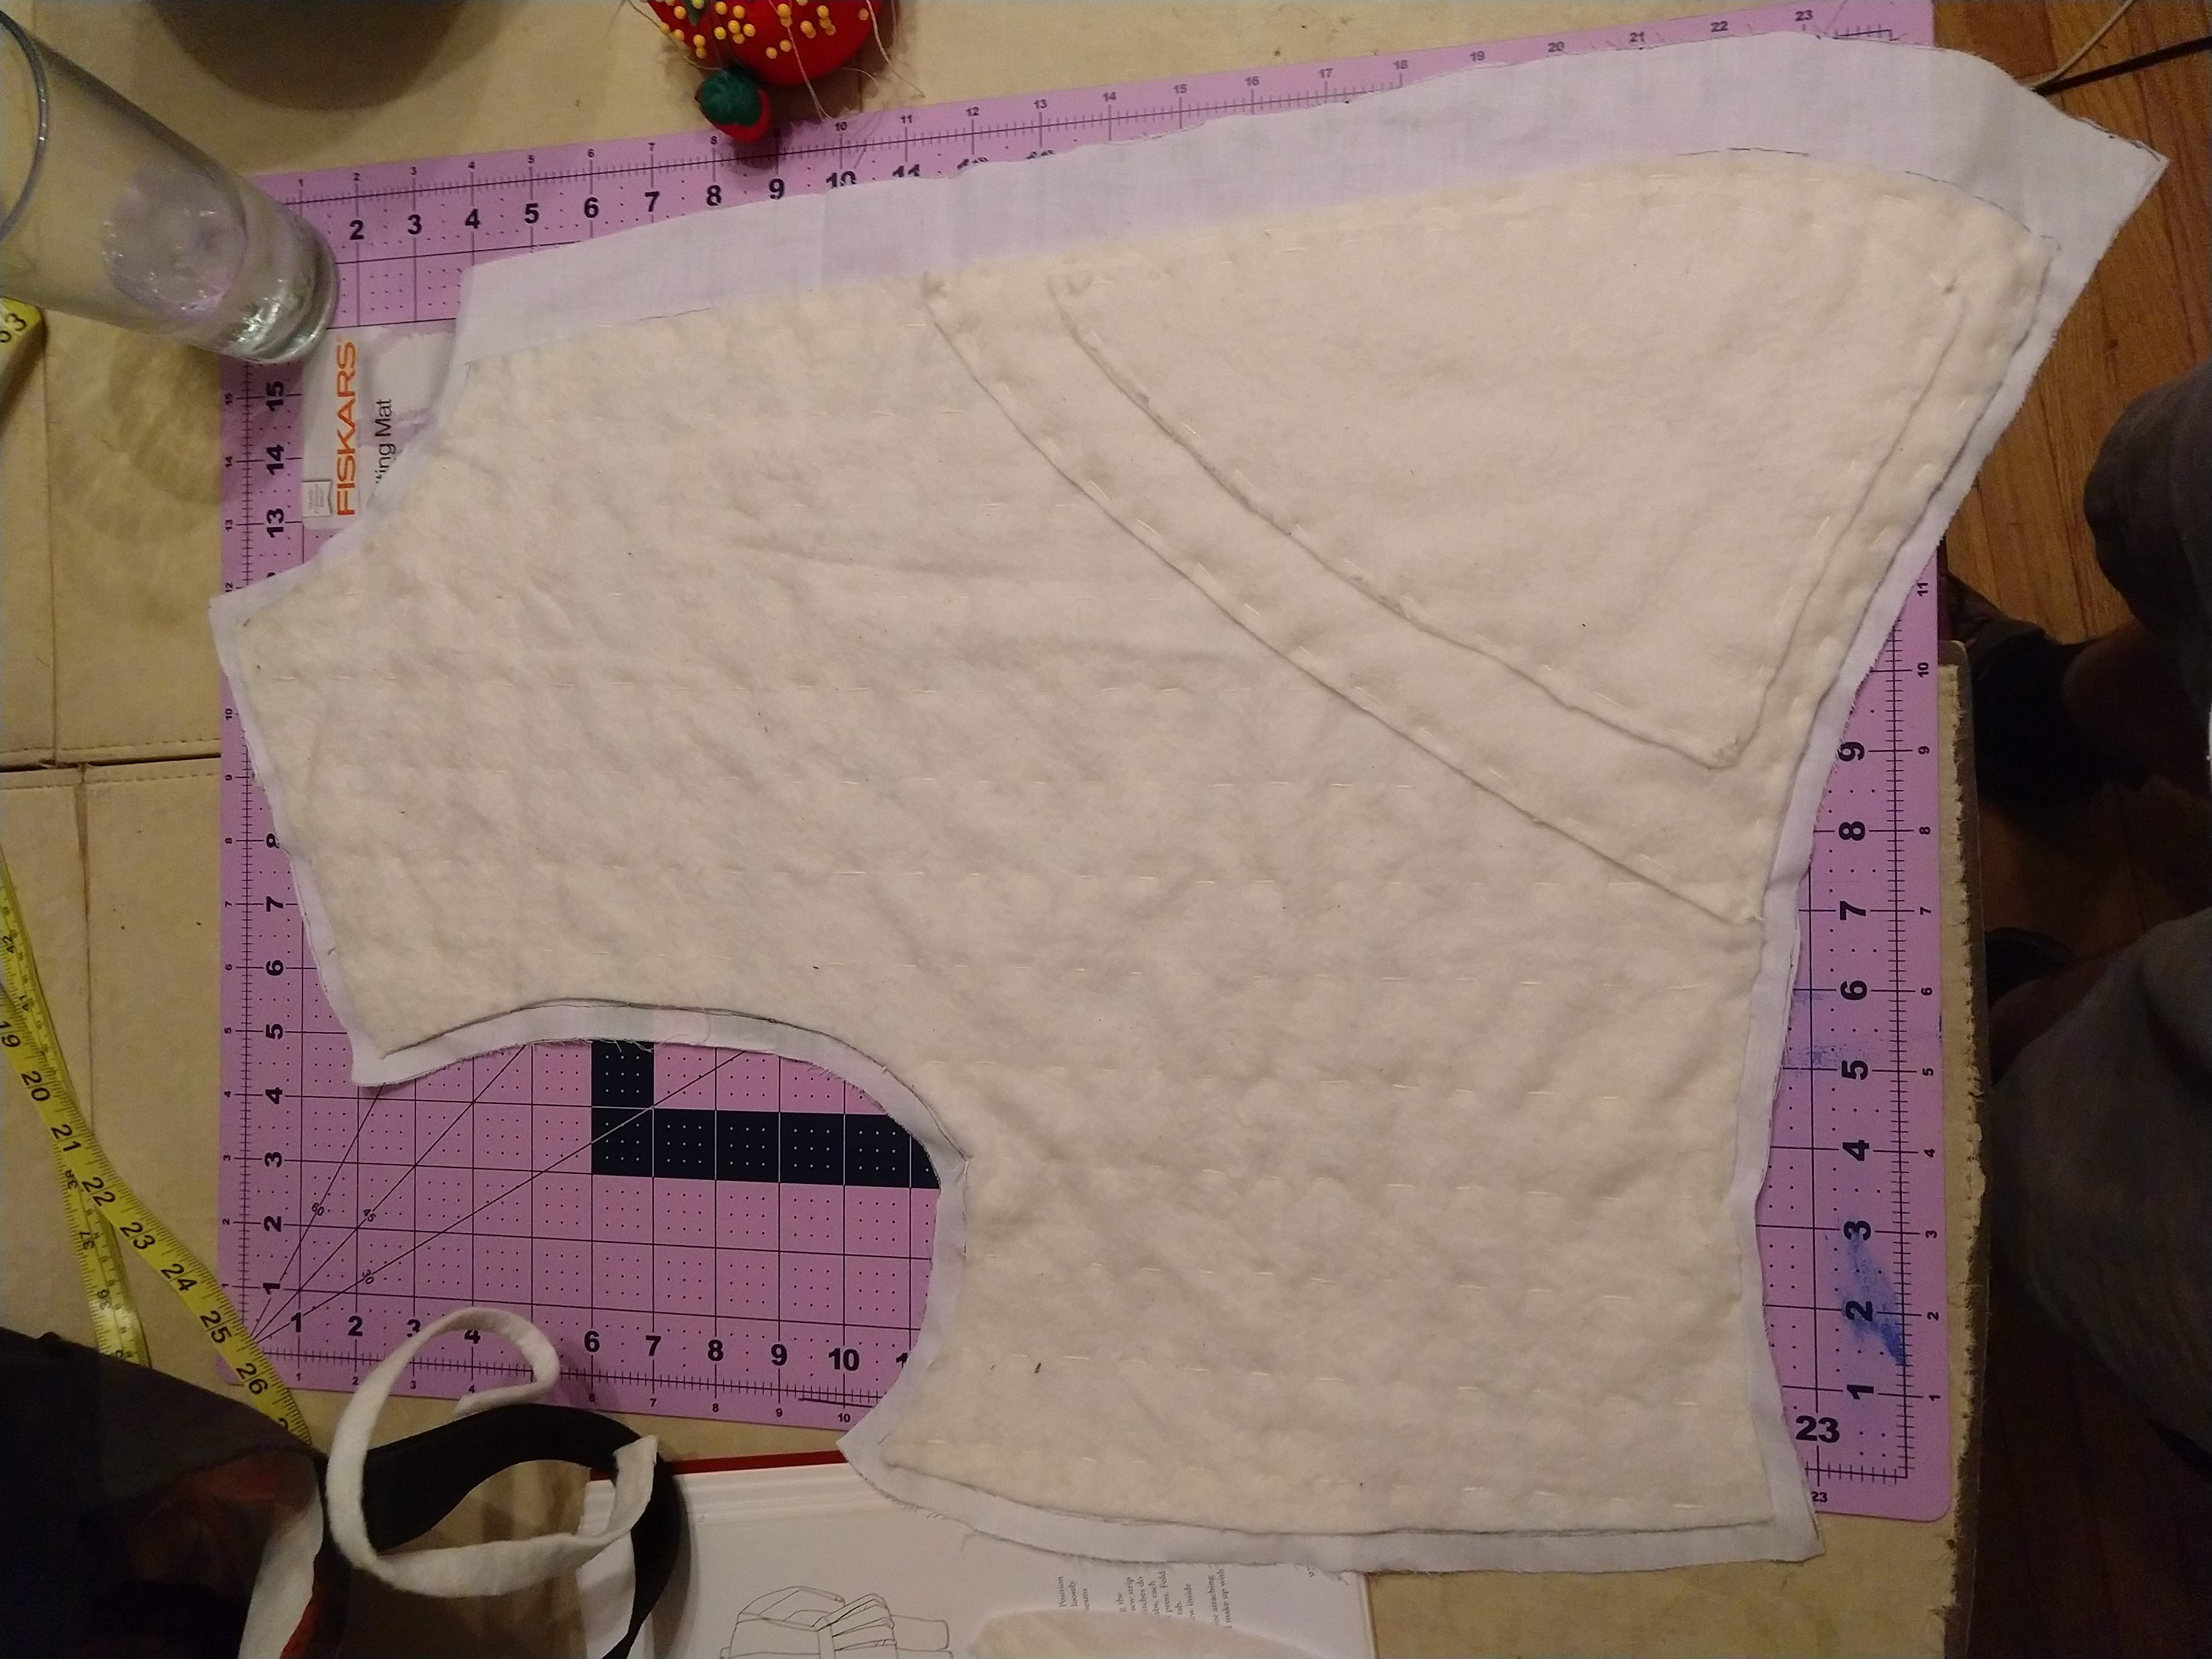 With the pieces all cut, I started with the interfacing layer. This layer was to be padded and should build up several layers near the center of the stomach in order to assist with the peascod shape. These subsequent layers were all pad stiched in place with a long running stitch using a heavy linen thread. The padding was stopped short along the center line so it did not create bulk where the buttons and button holes would be placed.
The interfacing layers were then sewn to the outer layer and then the outer layers sewn together loosely. This allowed for some initial fitting before inserting the lining. In doing so I found that the shape of the shoulders did not work well. In particular, I generally lack defined shoulders. Mine just slope off. Thus, the edge of the garb would float a couple inches above the point of my shoulder. This misalignment also caused the armpit to be raised and dig in uncomfortably. To accommodate, I increased the slope of the shoulder, adjusting the sewn line of the seam repeatedly until it lined up more naturally on my body. The excess fabric was then trimmed. The armpit was also cut lower and wider until it was comfortable and allowed my arm to rotate freely.
 These adjustments were then copied onto the lining layer by using the trimmed excesses as a negative pattern. Once the outer and lining matched, they were assembled, following the instructions in theTudor Tailor. Peplum and a collar were added.
Once assembled, button holes were placed every inch and a buttonhole stitch used to bind the edges with a heavy button thread. Fabric buttons were also created using the same fabric and a heavy linen thread, based on instruction from Her Excellency Gwendolyn.
The hose were constructed in a broadly similar fashion: Assembling the outer layer, attaching the interfacing, and then sewing in the lining. Although I have not yet made use of it, the double also has a heavy canvas strip sewn into the same seam as the peplum which I intend to use to allow the hose to be laced to the doublet.
Final Thoughts
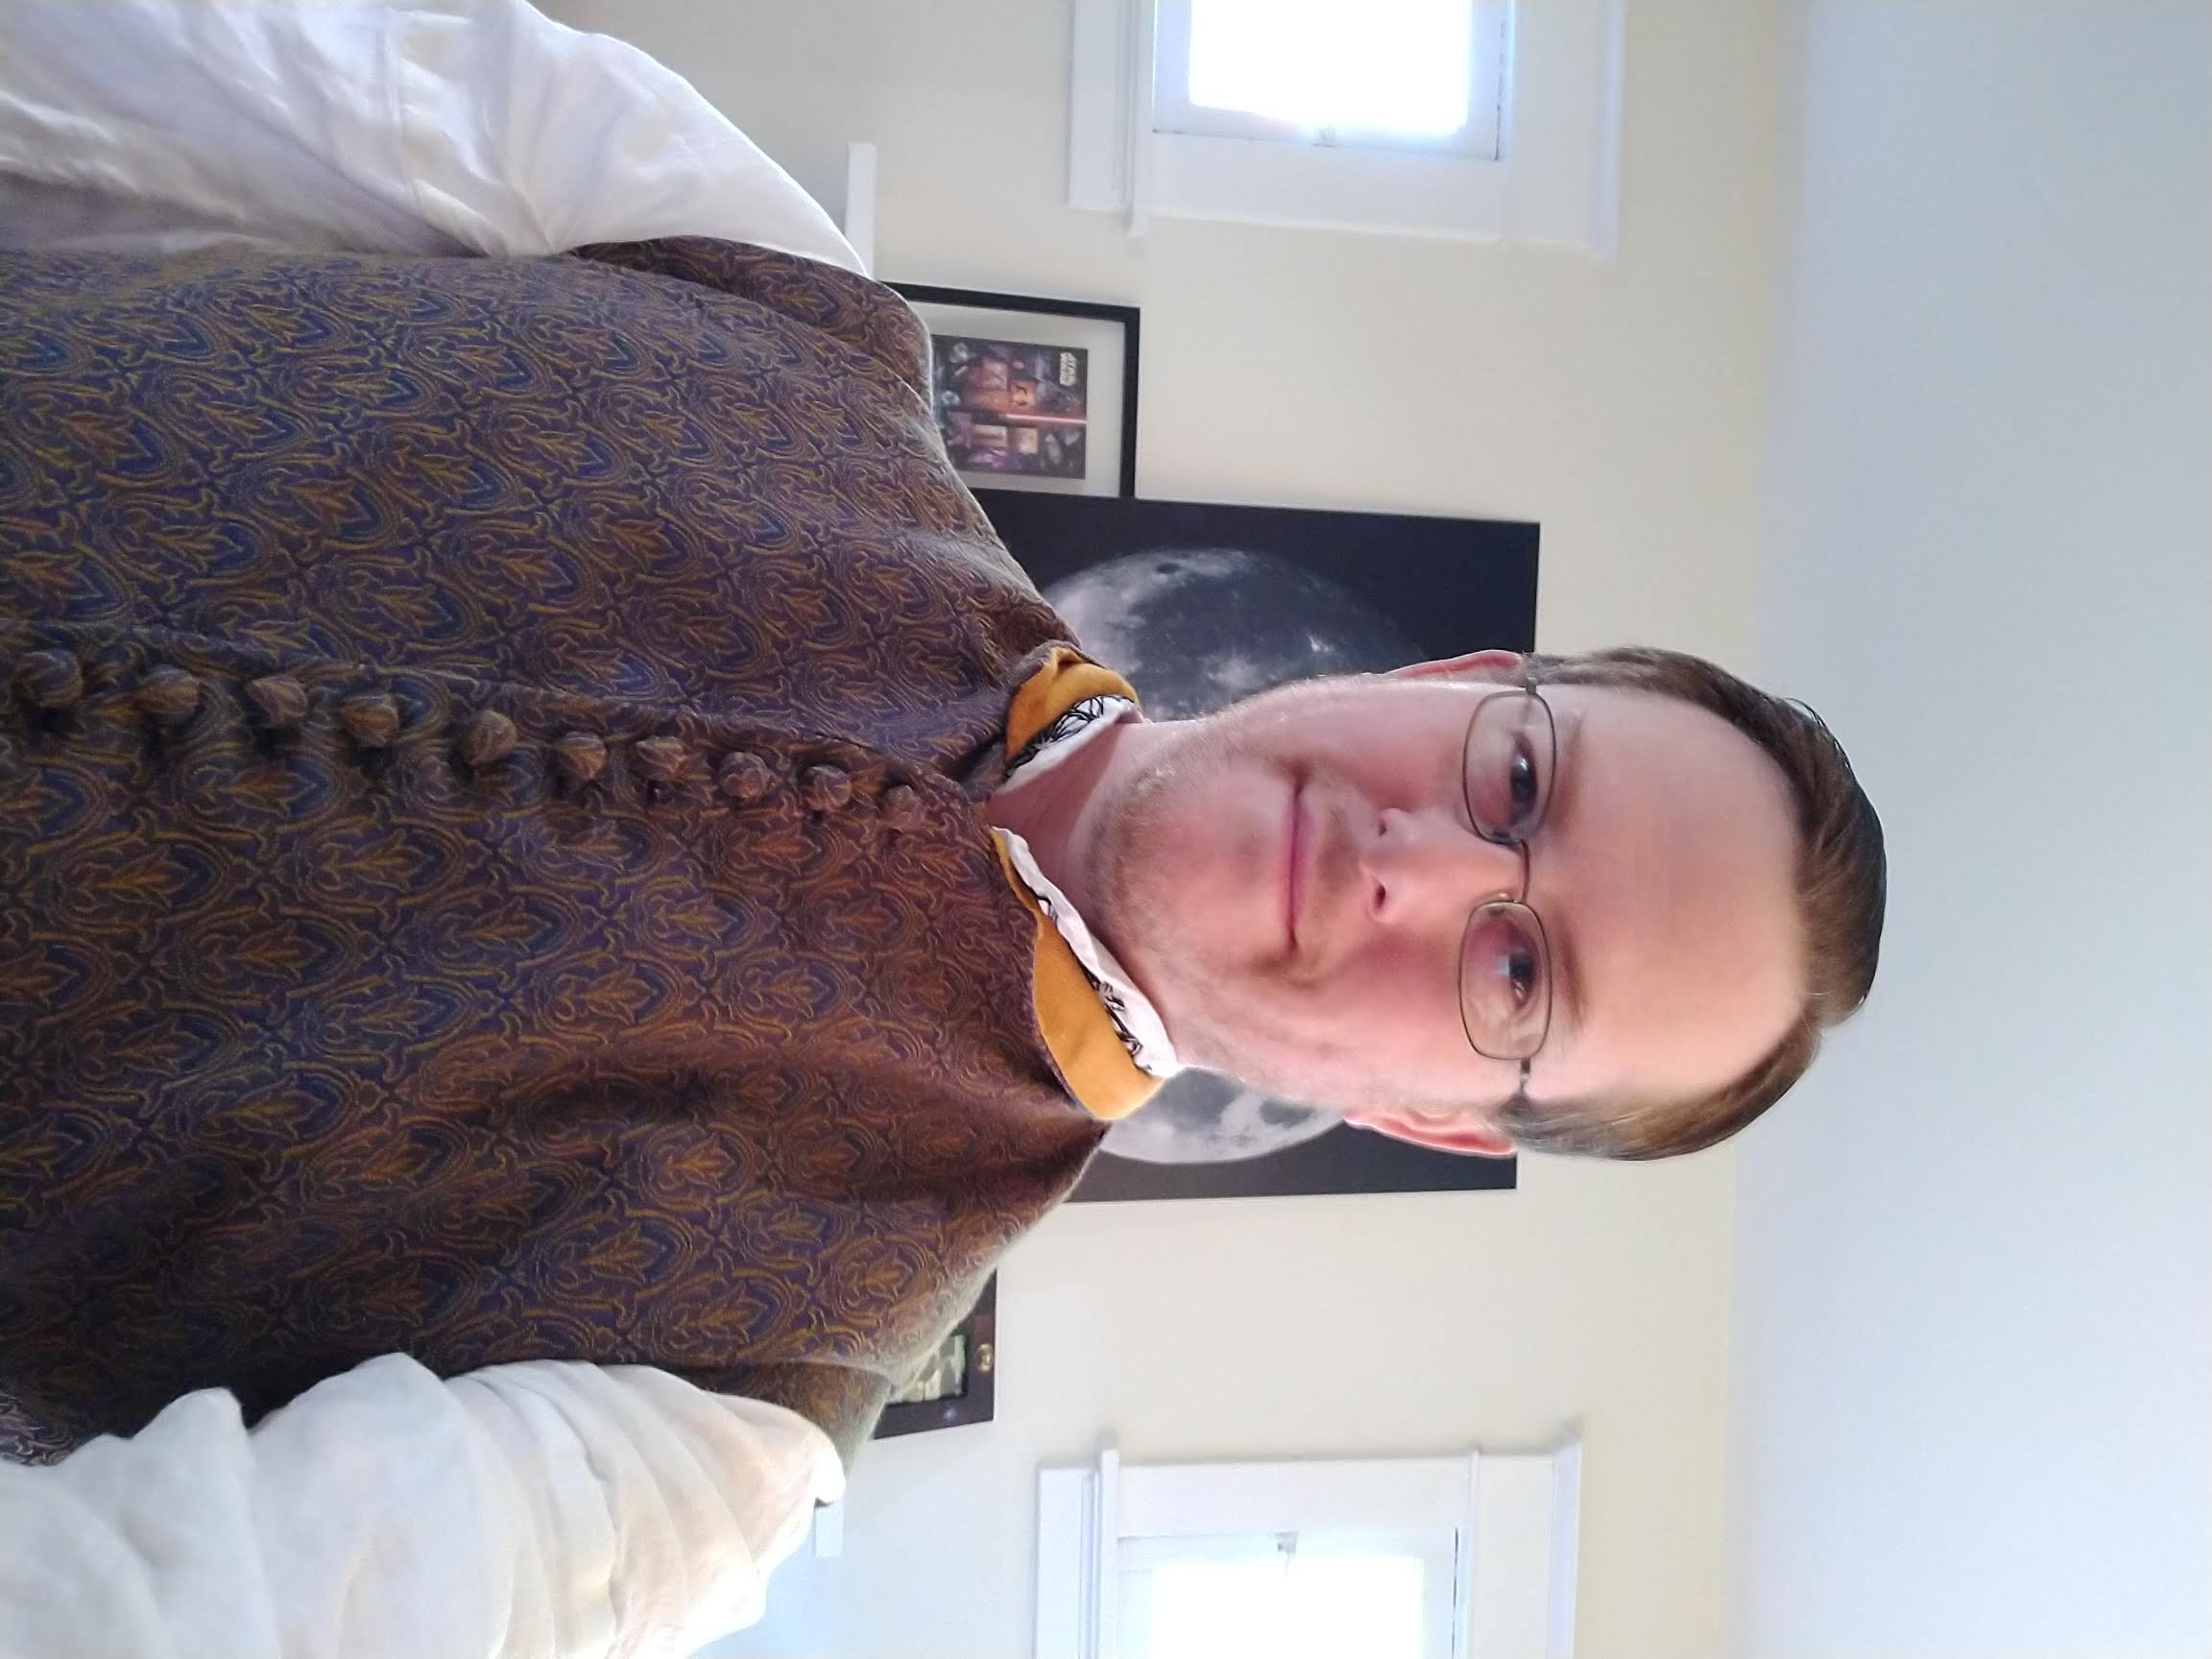 While I don't think this set of garb meets my goal of producing a sufficiently well fitting set of garb that I can reproduce it for the Charles IX garb, it is definitely a large step forward. Adjusting the shoulder seam and armpit makes the garb considerably more comfortable although I think there is still some work to be done in that area. Specifically, as you can see in the above images, the shoulder seam is straight, the slope of my body increases close to my neck. Having a strictly straight seam here means that right around the neck more of the weight of the garb is felt instead of being evenly distributed along the seam. In other words, the weight is borne right around the collar and the rest of the seam floats just above the under-shirt. Adding a slight curve right in this region would alleviate this, but I wonder at the effect on the overall lines. In addition, I think I could still cut the holes around the arm a bit more generously in the front since bringing my arms towards my center still causes some bunching as you can see in the picture at left.
In general, I really like the overall look of the doublet. Having a more pronounced peascod shape on the belly looks quite good and is very comfortable, allowing for more room to bend. My weight has been fluctuating somewhat (especially due to the 2020 COVID quarantine) but when at the lower end of the range I often find myself in, the fit in the body is actually slightly loose. However the heavy fabric and padded interfacing ensure that the doublet retains an elegant shape and does not sag.
I'm also pleased with the buttons. I think these added an especially authentic touch. The button holes were made slightly small so the buttons are somewhat difficult to do, and with the large number of them (21 in total) I find myself often only undoing about half and then sliding the doublet off. My hope is that the fabric will relax and the buttons wear down from continued use, but with the quarantine, the garment hasn't seen enough use in the two years since I completed it for that to have happened yet and I worry that the heavy button thread used on around the button holes may prevent this.
While the hand sewing certainly took much more time than machine sewing, there are many things I found I enjoyed about it. Removing stitches was far easier when adjustments needed to be made. I could use scissors to cut a stitch and then pull the thread out instead of needing to worry about finding my seam ripper. I also enjoyed how well inserting the lining went. Previously this was always one of my least favorite parts of constructing as there's always one seam that has to be left open to turn the garb right-side out. Trying to close that with a machine has never gone well for me. However, hand sewing this proved far less difficult than I expected and offered a much nicer result.
The Venitian hose I was also quite happy with. I really liked that they were less complex than the trunkhosen and being that they didn't need to be form fitting, tight tailoring wasn't required making these exceptionally easy. The one note I do have on them is that, because they stop just under the knee, another set of hose must be worn meaning that at some point, I'll still need to make those although they need not be joined. For now, I'm using women's leggings.
And here's my cat keeping the fabric warm.