Tudor Slashed Doublet & Hose
Part 1 - Planning & Materials
 For this project, my goal was to create a set of garb appropriate for the 16th century. The earlier part of this century is generally considered the Tudor era while the latter drifts into Elizabethan. Stylistically the clothing worn was quite similar although there were some notable differences. One of the most prominent is that later in the 16th century, doublets tended towards a pointed belly (known as peascod). Although my SCA persona is towards this later period style, I prefer the look of the Tudor fashion.
As such, I used the patterns from The Tudor Tailor. Unlike my previous project (Tudor doublet and trunkhosen), I intended for this set to have regular joined hose instead of the large pumpkin pants. As such, it was appropriate to also add a skirt to the doublet.
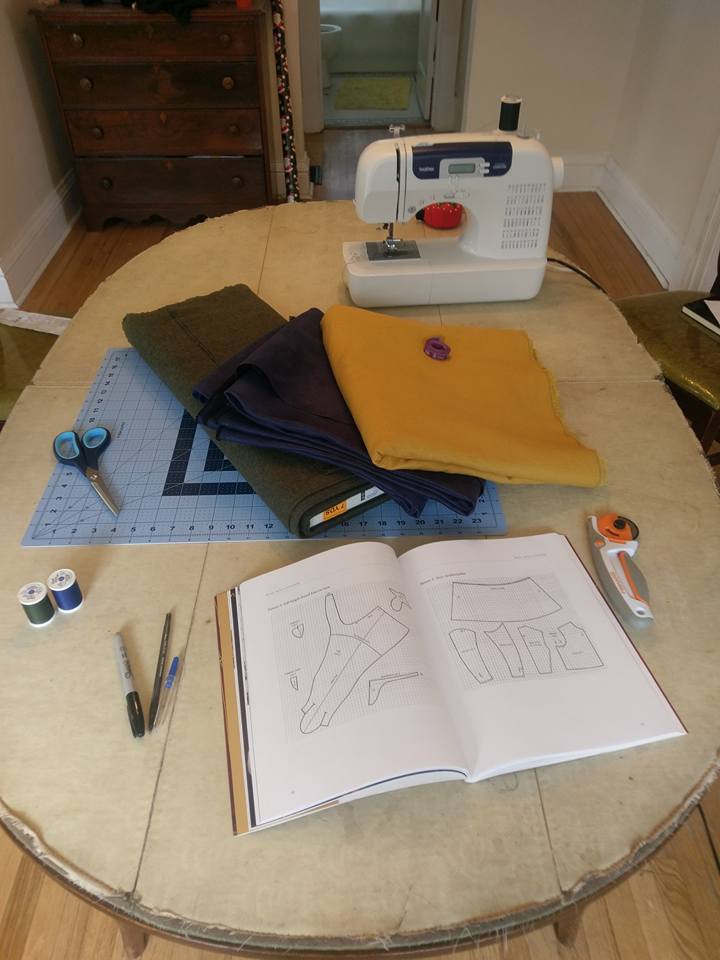
As an additional goal on this project, I wanted the overall theme of the garb to reflect my heraldry. Specifically this meant the top should be blue and gold and the bottoms should be green and gold with some white around the middle.
For my materials, I chose a deep blue corduroy. This ended up being a wonderful choice as the material does not fray significantly which made the slashing much easier since the raw edges would not need to be reenforced. For the lining which would show through, I used a golden linen/rayon blend. The bottom was a green 100% cotton with a nice pattern to it.
Part 2 - Drafting & Cutting
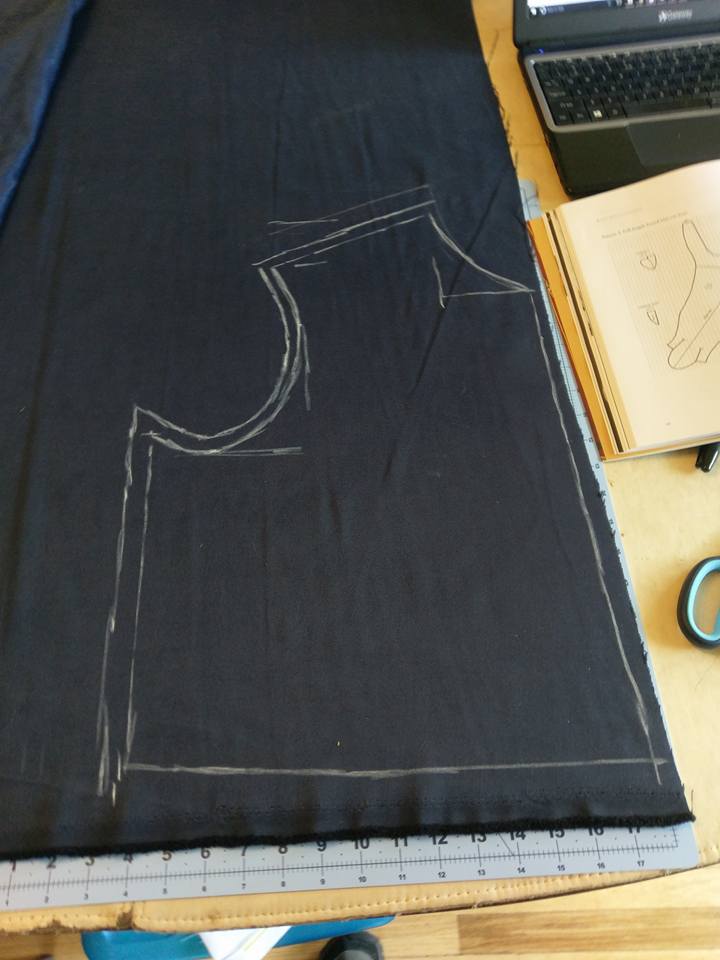 One of the challenges in using patterns from Tudor Tailor is that the patterns are printed in the book and thus not full size. As such, the first step was to transfer the patterns to the fabric. Fortunately, the pieces have a fairly easy layout with edges that are largely geometrical. As such, I can measure things like the depth of the curve for the arm and how far in the lowest point is and then sketch the necessary curves by hand as illustrated here. Many of the pieces are also mirrored left to right and since I transferred the patterns using chalk, carefully folding the fabric allowed for me to very easily duplicate the necessary pieces.
Having worked with this pattern previously, I did not feel the need to leave as generous of seam allowances as I sometimes do to allow for tailoring. Overall, I left a 1/2" allowance.
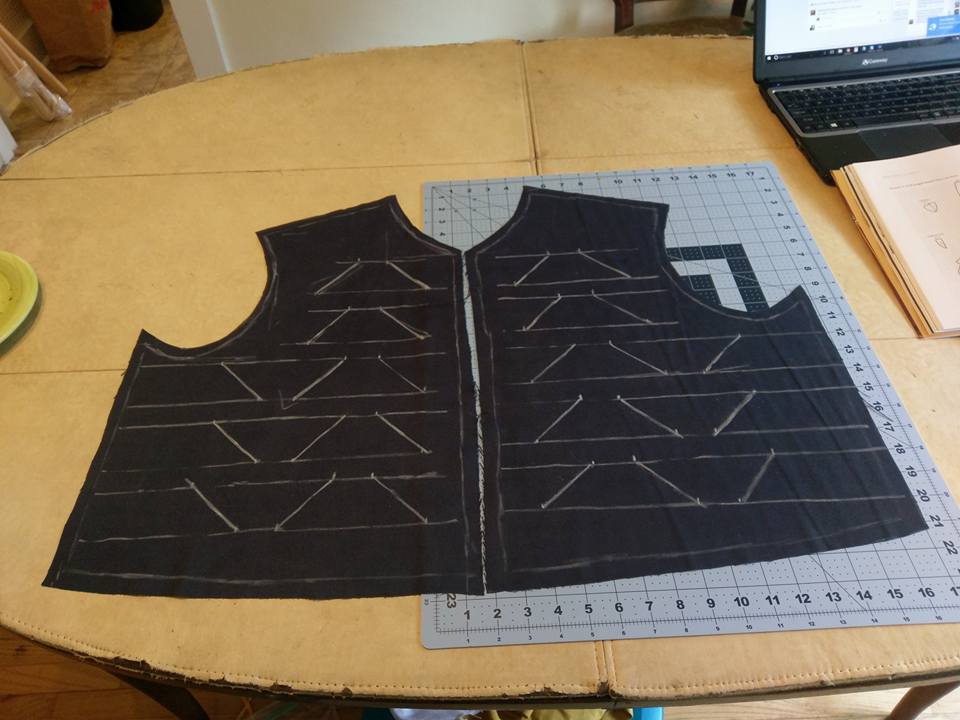 With the main body pieces cut, I then marked where I intended to place the slashes. To keep things simple, I went with 2" slashes at 45 degree angles with 1.5" between them horizontally and 1" vertically. Fortunately, this did a very nice job of filling the space. The outline of these pieces was then copied onto the inner gold material and those pieces were cut out as well.
 When I initially cut the slashes into the top layer, I noticed the slits were extremely narrow and the lower layer of fabric did not show through as well as I had hoped. My solution was to cut very narrow ellipse shapes into the fabric instead. Looking at historical sources, this looks to be a very common method as demonstrated by this painting from the early 1500's.
For the skirt, this came in two large sections. As with before, the shape was done geometrically first by measuring out the outer edges of a box that would encompass the entire piece, and then measuring in from this reference point with the curves being sketched by hand. 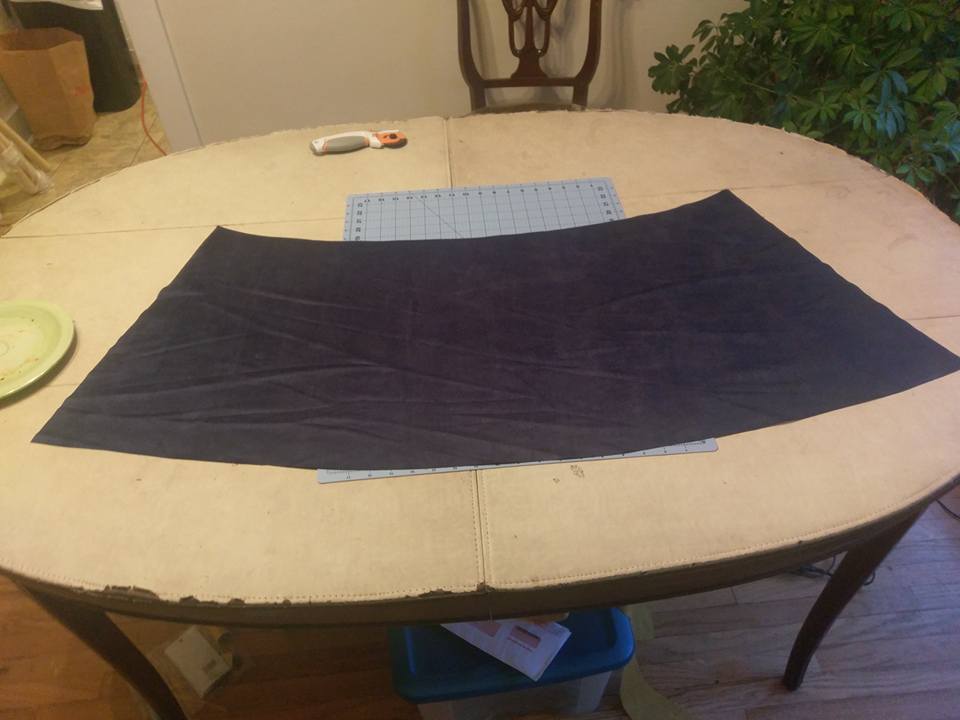
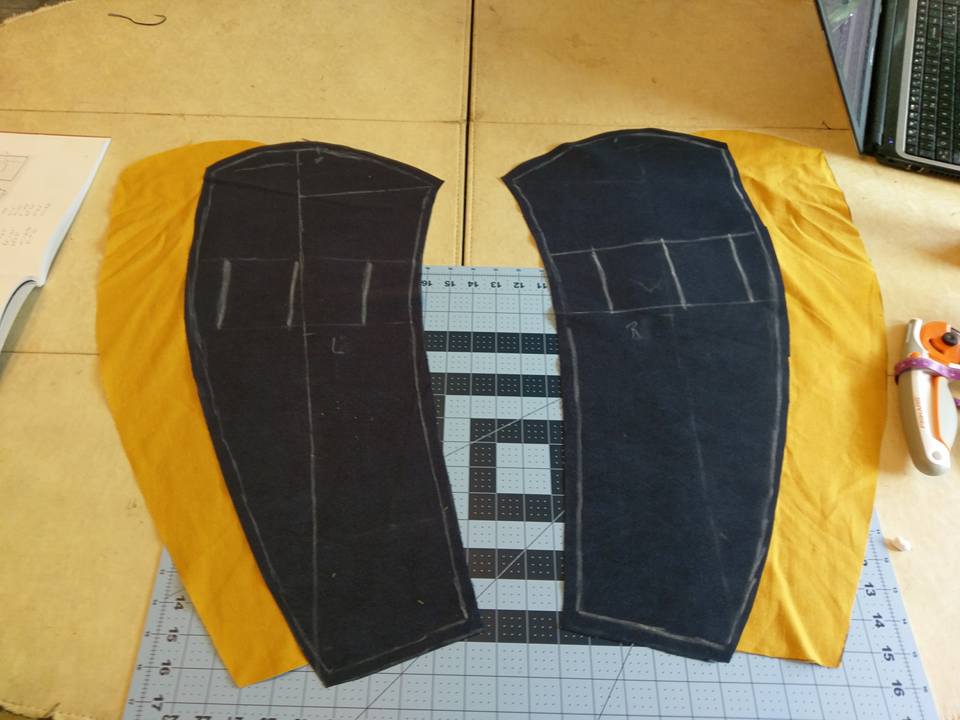 What proved most challenging was the sleeves. This was because they did not have as simple of a construction as the other pieces. In the image here you can see horizontal lines which I used as a center line to be the reference. This was chosen because the topmost point, and the bottom most point both very nearly fall along it (although the one at the wrist is slightly off. From there I could measure down and determine where the corners as well as inner and outermost points along the curvature should fall. Again I marked places for the slashing following the same principles as I did previously and again cut elongated ellipses in the pieces.
Although I'm not showing it here, pieces for the back were also cut. However, this process was very similar to the front pieces and did not need to include slashing, so I have chosen not to show the pieces here. Additionally, I should note that the pattern does allow for a collar, but I elected not to use it as the undershirt I intended to pair with this had a large collar which would fall over the doublet and lay nicely atop it.
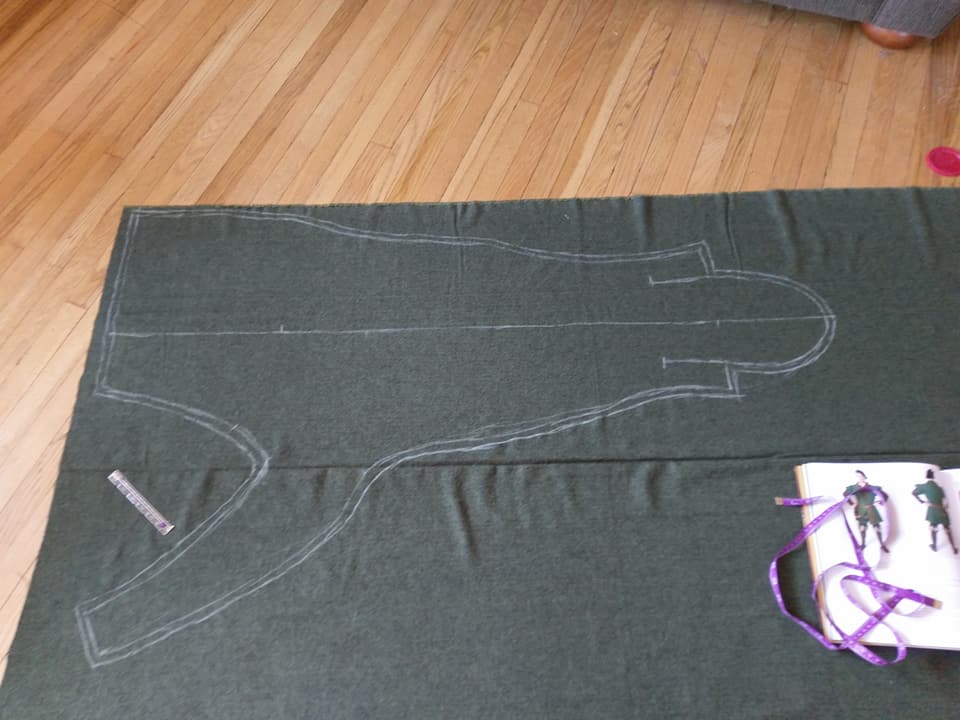 For the hosen, the pattern was extremely difficult to transfer since it has a lot of curves. There are virtually no straight edges. Additionally it took so much material that it wouldn't fit on my table and I had to move my couch to lay the fabric out on the floor. However, I was able to still find a good center line and measure out reference points from it. Again, elongated ellipse cuts were made for a slashed effect. Unfortunately, I did not think ahead after all the time I spent transferring this pattern. Had I done so, I would have gotten some muslin and traced the pattern on to that to keep for future reference. Alas, I did not. I also omitted the codpiece that should be present. Just not my thing.
Part 3 - Construction
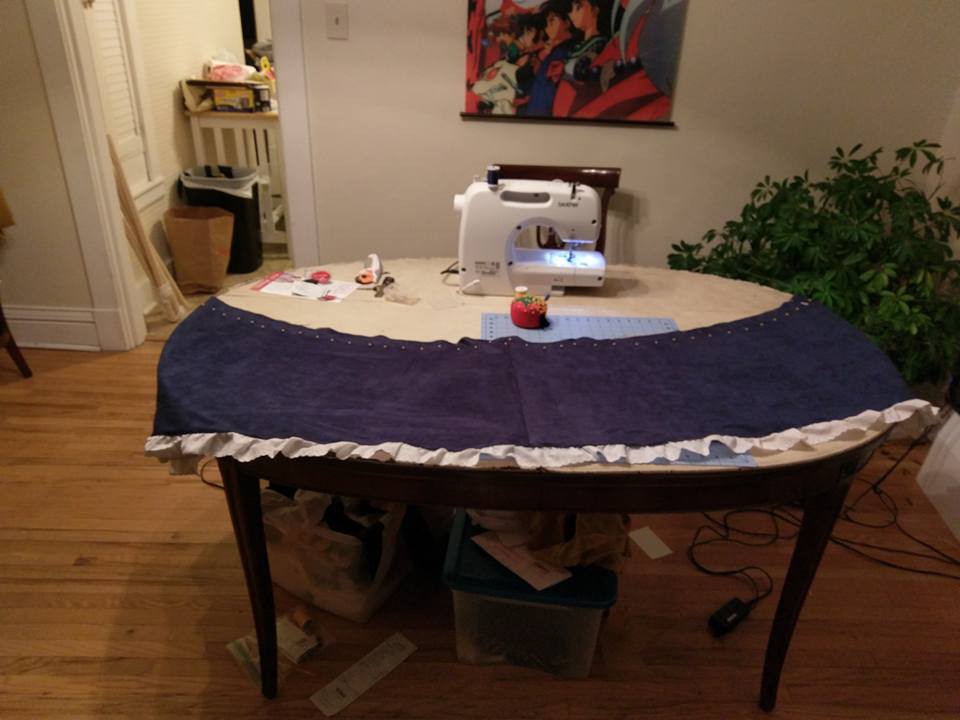 All sewing was done on my sewing machine. By and large, the construction of this pattern followed very closely to other lined jackets I have made previously so I did not document this very much. The skirt was lined as well and I placed a white lacing along the bottom edge. This was to achieve the "white around the middle" which was meant to represent the clouds from my coat of arms.
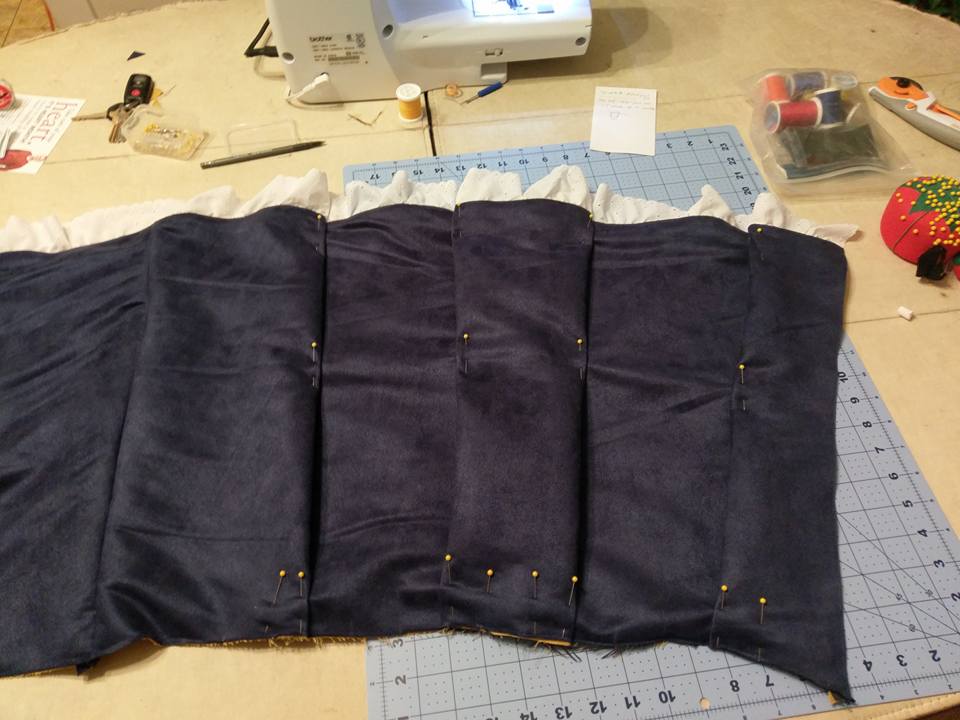 As should be obvious from the image at left, the overall waist of the skirt is much larger than the waistline to which it should be attached. As such, I used box pleats to reduce it to the appropriate circumference. While I pinned the pleats all the way down to the lacing this was meant to keep the fabric managed as the stiff corduroy kept wanting to unfold which would apply torque to the edge I wanted to sew and could prevent the stitches from going in correctly. Once the top edge was sewn to keep the pleats in, the pins were removed.
 As I started putting the arms together, I felt that the arms did not have the "poofiness" that I was looking for. The slashes fell right on top of the inner layer and looked quite poor. To help correct this, I created a tube of scrap material and stuffed it with additional scraps. This was then inserted between the layers and I hand stitched it to the edges of the slashes to prevent it from moving. While this did achieve the effect I was looking for, I was later informed that this was not the correct way to achieve the look I was going for. Rather, the outer layer should have been created somewhat larger than the lining. Stitching near the slashes would keep the aligned elsewhere, but the excess top layer material would allow for it to poof out somewhat. To fill that area, an additional later of fabric between the top layer and the lining would be inserted which was again too large, filling the space and pushing the top layer outwards to create the "poofiness". In addition to it being historically inaccurate, it is also makes things somewhat frustrating when washing this piece as all the extra fabric in the tube tends to hold water requiring extra care in drying to prevent mildew.
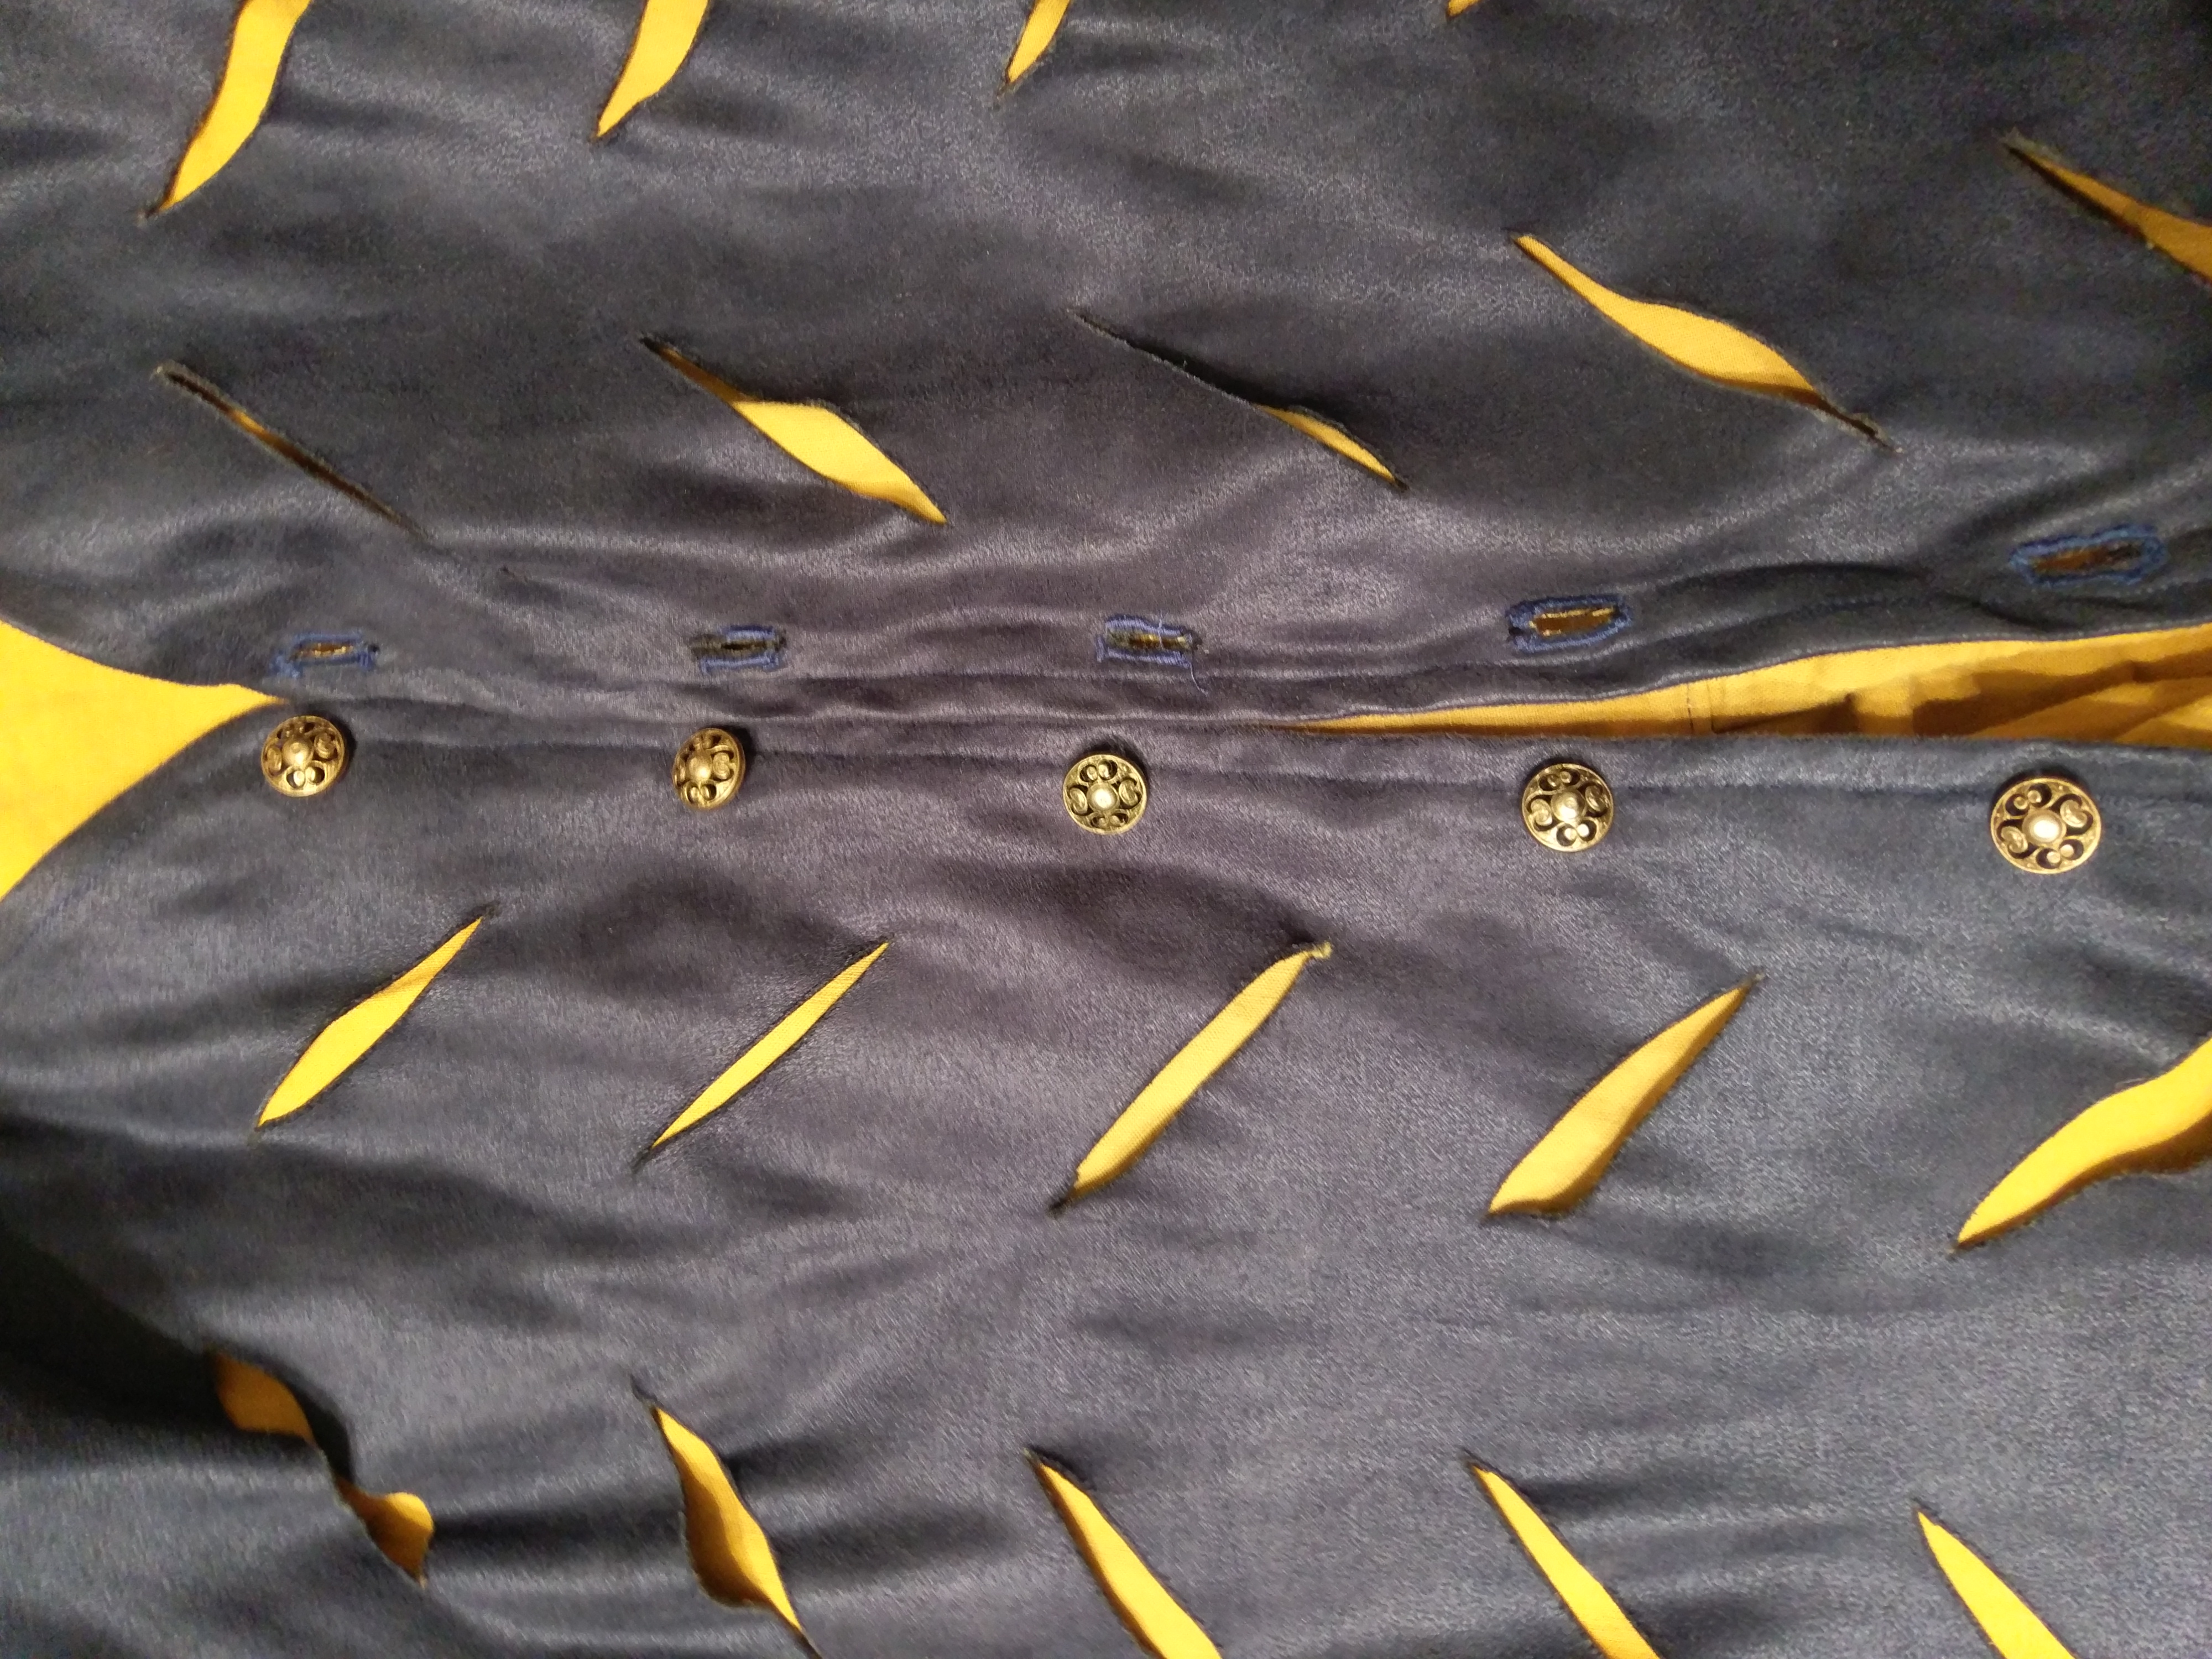 For the buttons, I used some antique looking buttons I found at JoAnn's. I used the lazy way to do the button holes of making a long box with a zig-zag stitch on my machine and then cutting the hole within.
The hose were sewn together much like any pair of pants. The only difference was that this had a foot which was challenging. Like the arms, I used an extra roll of material to create the poof just above the knee. Since this material does fray a little, I took extra care when hand sewing the edges of the slashes to the insert. A channel was added along the waist to place a cord through to use as a drawstring. Historically, points would have been used which would have been attached to either this piece or the doublet allowing them to be laced together. However, I tried this with the previous project and did not find it worked well, although that may have been due to the significant weight of the trunkhose.
Final Thoughts
Overall I am quite pleased with how this piece turned out. My largest frustration is that, when adjusting the pattern to my body size (the patterns in the book are meant for someone slightly smaller and shorter than me), I failed to take into account how much extra I needed to leave around the midsection when I sit. While I can sit in this piece (with moderate strain on the buttons, but not much danger of breaking them) it is far less comfortable. Perhaps an incentive to lose some weight.
Similarly, the inserts I added to the sleeves to achieve the poofiness made the arms somewhat tighter than anticipated. Again, it's not a functional problem. It's just a snug fit. Also, with many patterns I find the holes to attach the arms slightly too small. While this has been a consistent problem, this was my first time using the sleeves for this pattern and as such, I followed the pattern without adjusting for this as I did not know if it would be necessary or not.
With the hose, my biggest frustration is the poofiness I added at the knee. While this was intended to sit just over the knee, it tends to move some due to the stretch of the fabric, gravity, and the fact that legs taper as you go down for the most part, which means there's less pressure the further down it rests. The result is that the two poofs don't sit where I wanted and often rest directly over the knee which is uncomfortable. Just as bad, they're not quite level with one another either, so it always looks slightly off kilter. The feet weren't quite fit right for my foot which results in them being tight around the ankle (thus making them difficult to get on and off, and with extra material around the toes. While this isn't horrible, it does mean that I can't wear them with the pair of Mary Rose Tudor shoes I got from Bohemond since these have a very narrow toe without room for the extra fabric. Rather, I wear a pair of modern dress shoes which provides an excellent look as well.
Lastly, here's an obligatory "my cat is helping" picture.