So far in these preliminary theorems, we’ve looked at some that were based on triangles and some that were based on circles. We’ll be going one step further with this next one and work with spheres. Thus far, we’ve briefly touched on spheres in this post discussing the celestial sphere. If great circles and spherical triangles aren’t familiar to you, I suggest reading over that post.
But since this is the first time we’ve encountered math in 3D if you’ve been following along, I want to build this up more slowly1 and will be trying to add some 3D elements to make the visualization a bit easier.
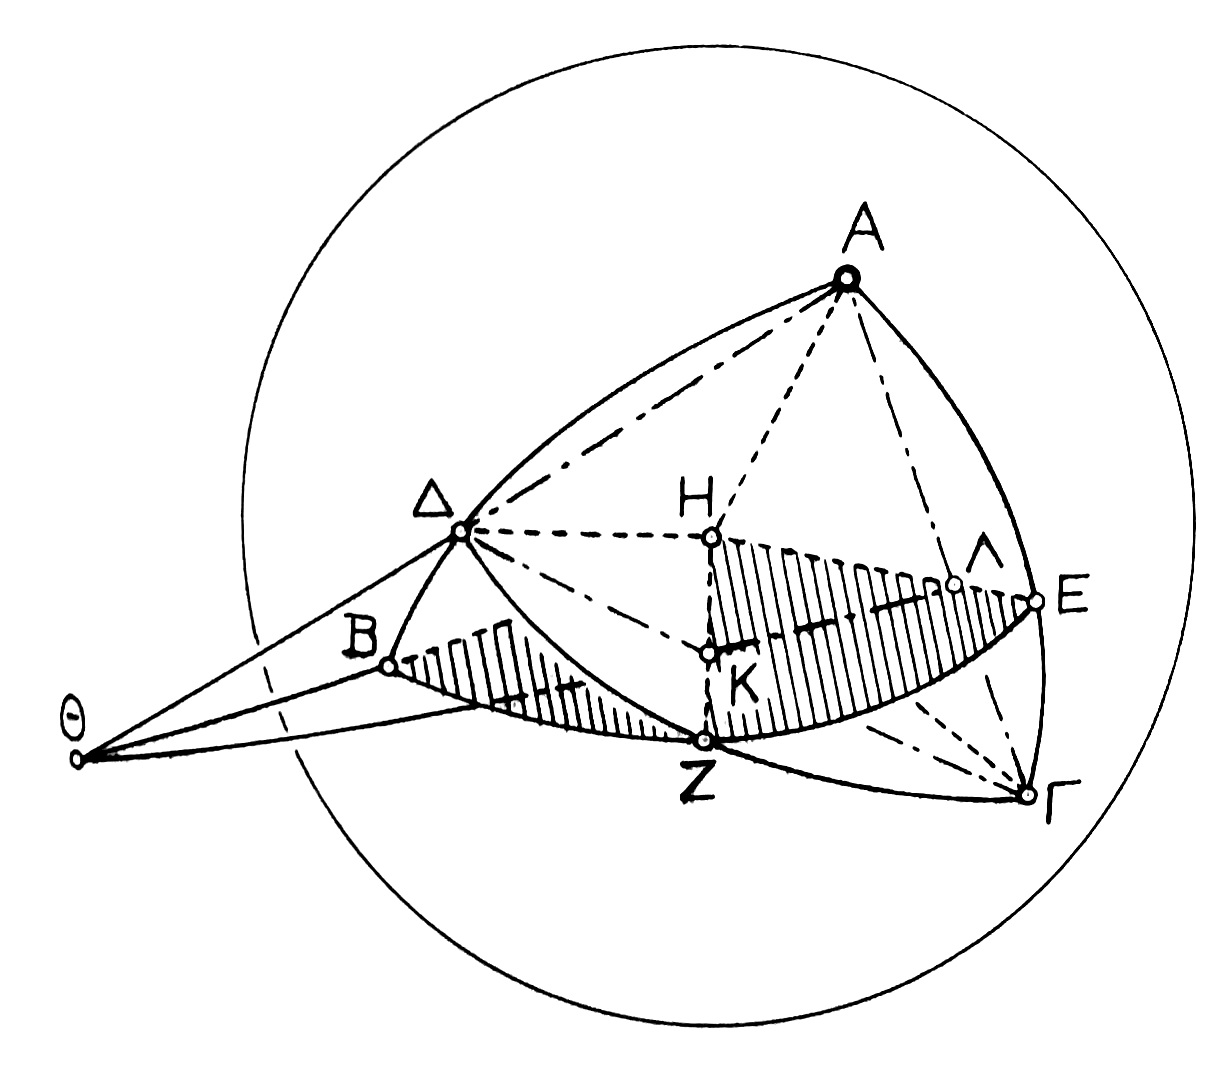
[L]et us draw the following arcs of great circles on a sphere: BE and GD are drawn to meet AB and AG, and cut each other at Z. Let each of them be less than a semi-circle.

Before we move on, let’s be sure we understand what we’re starting with. So far we have four arcs that are each part of great circles2. These are: AB, AG, DG, and BE. The latter two of these cross at point Z.
To try to assist with visualization, I’ll be drawing things that are on the surface of the sphere in blue. The solid lines are the pieces we’re really concerned with. Dark dashed ones are the continuation of those on the side of the sphere facing us, and the light ones are the continuation of them on the far side.
Let us take the center of the sphere, H, and draw from it to the intersections of the circles, B, Z, E, lines $\overline{HB}$, $\overline{HZ}$, and $\overline{HE}$.

So now we’ve added three lines extending from the center, H, to B, Z, and E. Since these aren’t on the surface of the sphere, I’ve colored them black, and since they’re inside the sphere, extending to the surface, I’ve made them semi transparent.
Now we’re going to go a little funny.
Join $\overline{AD}$ and produce it to meet $\overline{HB}$, also produced at $\Theta$.

The idea of the last step was to extend lines $\overline{AD}$ and $\overline{HB}$ until they met. What was odd about this is that, to do so, the point they meet, $\Theta$, is actually outside the sphere. So now lines $\overline{A \Theta}$ and $\overline{H \Theta}$ start from within the sphere and break the surface at points D and B respectively.
Similarly, join $\overline{DG}$ and $\overline{AG}$, and let them cut $\overline{HZ}$ at and $\overline{HE}$ at points K and L.

Then $\Theta$, K and L lie on a straight line, since they all lie simultaneously in two planes, the plane of $\triangle{AGD}$, and the plane of circle $BZE$. Draw this line [$\Theta {KL}$].3

As instructed, I’ve drawn line $\Theta {KL}$, but I’m not a huge fan of how the logic behind it was written. Rather I would have said we can do so because K and L lie along the intersection of the planes of $\triangle{AGD}$, and circle $BZE$ and . To try to visualize that a bit better, I’ve cut down the noise:

I’ve also added a bit of shading so it’s much easier to visualize that $\triangle{AGD}$ plunges through circle $BZE$, cutting the line $\overline{KL}$.
But while it’s now easier to visualize, we should affirm how we know it’s cutting through and not just appearing to do so because of a chance alignment. Looking back over the setup, that came in this step, where we said to “join $\overline{DG}$ and $\overline{AG}$, and let them cut $\overline{HZ}$ at and $\overline{HE}$ at points K and L.”
This is saying that points K and L are on lines $\overline{DG}$ and $\overline{AG}$ and intersect $\overline{HZ}$ and $\overline{HE}$. Since circle $BZE$ is a great circle, that means that its center is the center of the sphere, H. Since $\overline{HZ}$ and $\overline{HE}$ start from that center and extend to points on the circle, that means they’re on the circle too. So if the points K and L are on $\overline{DG}$ and $\overline{AG}$ and intersect $\overline{HZ}$ and $\overline{HE}$ they must be at the intersection of those planes.
What about $\Theta$? how are we sure that it’s along this line? Remember that we’d gotten $\Theta$ by extending A through D which means that plane extends right to $\Theta$.
Next up:
The result is that there are two straight lines, $\overline{\Theta L}$ and $\overline{GD}$, drawn to meet two straight lines, $\overline{\Theta A}$ and $\overline{GA}$, and intersecting each other at K.4
We’ve come a long way, but now Ptolemy is stating that we’ve gotten things into a configuration that we can start applying the preliminary theorems I’ve gone over in the past few posts.
First, we’ll apply theorem 13.2, which allows us to state:
$$\frac{\overline{GL}}{\overline{LA}} = \frac{\overline{GK}}{\overline{KD}} \cdot \frac{\overline{D \Theta}}{\overline{A \Theta}}$$
This follows straightforwardly, but let’s analyze it anyway. Again, let’s strip away all the noise:

Here we’re only concerned about these two triangles. As we just discussed, they’re in a single plane which means our theorems should work on them. If you refer back to the diagram we used for theorem 13.2, you’ll notice it looks a bit different. In particular, there’s that dangly H hanging off. However, if you look at the actual theorem, H isn’t actually used. It was just a point added to help in the proof of the theorem. So, if we wanted to really make sure the figure looked the same, we could add a new point along line $\overline{GD}$ past D. But we don’t need to. Thus, we can directly apply the theorem, swapping out for the correct variables for this setup.
Next, theorem 13.3 gives us:
$$\frac{\overline{GL}}{\overline{LA}} = \frac{Crd \; arc \; 2GE}{Crd \; arc \;2EA}$$
Again, let’s take a look at how this plays out in this diagram:

This one is actually pretty simple. Here we’re looking at circle AEG. It has a chord across it, and a line from the center, cutting through the chord that hits the perimeter. Again, there’s a few things from the diagram for the proof of the theorem that are no longer present, but since they’re not used in the final proof, they were extraneous anyway. Thus, the theorem can be directly applied.
Before moving on, notice that $\frac{\overline{GL}}{\overline{LA}}$ (which was the beginning of this equation) is also in the last one. Good sign we’re going to be doing some substitution.
We can also use theorem 13.3 on circle DZG to state:
$$\frac{\overline{GK}}{\overline{KD}} = \frac{Crd \; arc \; 2GZ}{Crd \; arc \;2ZD}$$
Stripping away all the excess bits for this, we can see it fairly clearly again:

Again, one side of this equation is part of what we got a few equations above, so this too will get substituted in.
We can also apply theorem 13.4 which gives us:
$$\frac{\overline{D \Theta}}{\overline{A \Theta}} = \frac{Crd \; arc \; 2DB}{Crd \; arc \;2BA}$$
Let’s take a look at that one:

As with the previous applications of these theorems, we’re missing the scaffolding, but everything is present to be able to apply the theorem: a circle with a chord ($\overline{AD}$) that extends past the edge of the circle to a point ($\Theta$) which is also connected to the center.
Again, the left hand side of this equation will substitute directly into the previous equation. At this point, we have all three parts, so let’s go ahead and do the substitution!
$$\frac{Crd \; arc \; 2GE}{Crd \; arc \;2EA} = \frac{Crd \; arc \; 2GZ}{Crd \; arc \;2ZD} \cdot \frac{Crd \; arc \; 2DB}{Crd \; arc \;2BA}$$
And that’s Ptolemy’s next equation [13.5]. As the title of this post indicates, this is often viewed as an application of Menelaus’ theorem. However, if you’ve looked this one up, you’ll notice it’s actually meant for flat planes and looks slightly different. However, the general setup for the proof is of the same form: a triangle (or in our case, the spherical triangle formed by three great circles) which is cut by a line that intersects two of those sides and hits the extension of a third. This is known as Menelaus’ configuration. And in truth, we’ve encountered it before; it was part of the setup for theorems 13.1 and 13.2. Menelaus also applied this configuration to a sphere, but ended up using different methods so his result isn’t in the same form.
Before finishing the chapter, Ptolemy tosses in one last comment:
In the same way, corresponding to the straight lines in the plane figure5, it can be shown that
$$\frac{Crd \; arc \; 2GA}{Crd \; arc \;2EA} = \frac{Crd \; arc \; 2GD}{Crd \; arc \;2DZ} \cdot \frac{Crd \; arc \; 2ZB}{Crd \; arc \;2BE}$$
This is theorem 13.6. I may come back to it, but for now, I’ll take his word for it.
- In actuality, Ptolemy builds all of his figures up piece by piece in written descriptions. But to save me from having to draw each step, I have been skipping to the completed diagram. Sometimes I feel that there is something lost by doing this. Namely, seeing the initial pieces vs what is added in later helps unravel the thought process and make more clear the known pieces vs what we’ve solved for or created, but I hope that my description of the methodology has been sufficiently thorough as to make up for this.
- As a reminder, great circles are ones on the surface of a sphere that pass through the center of the circle.
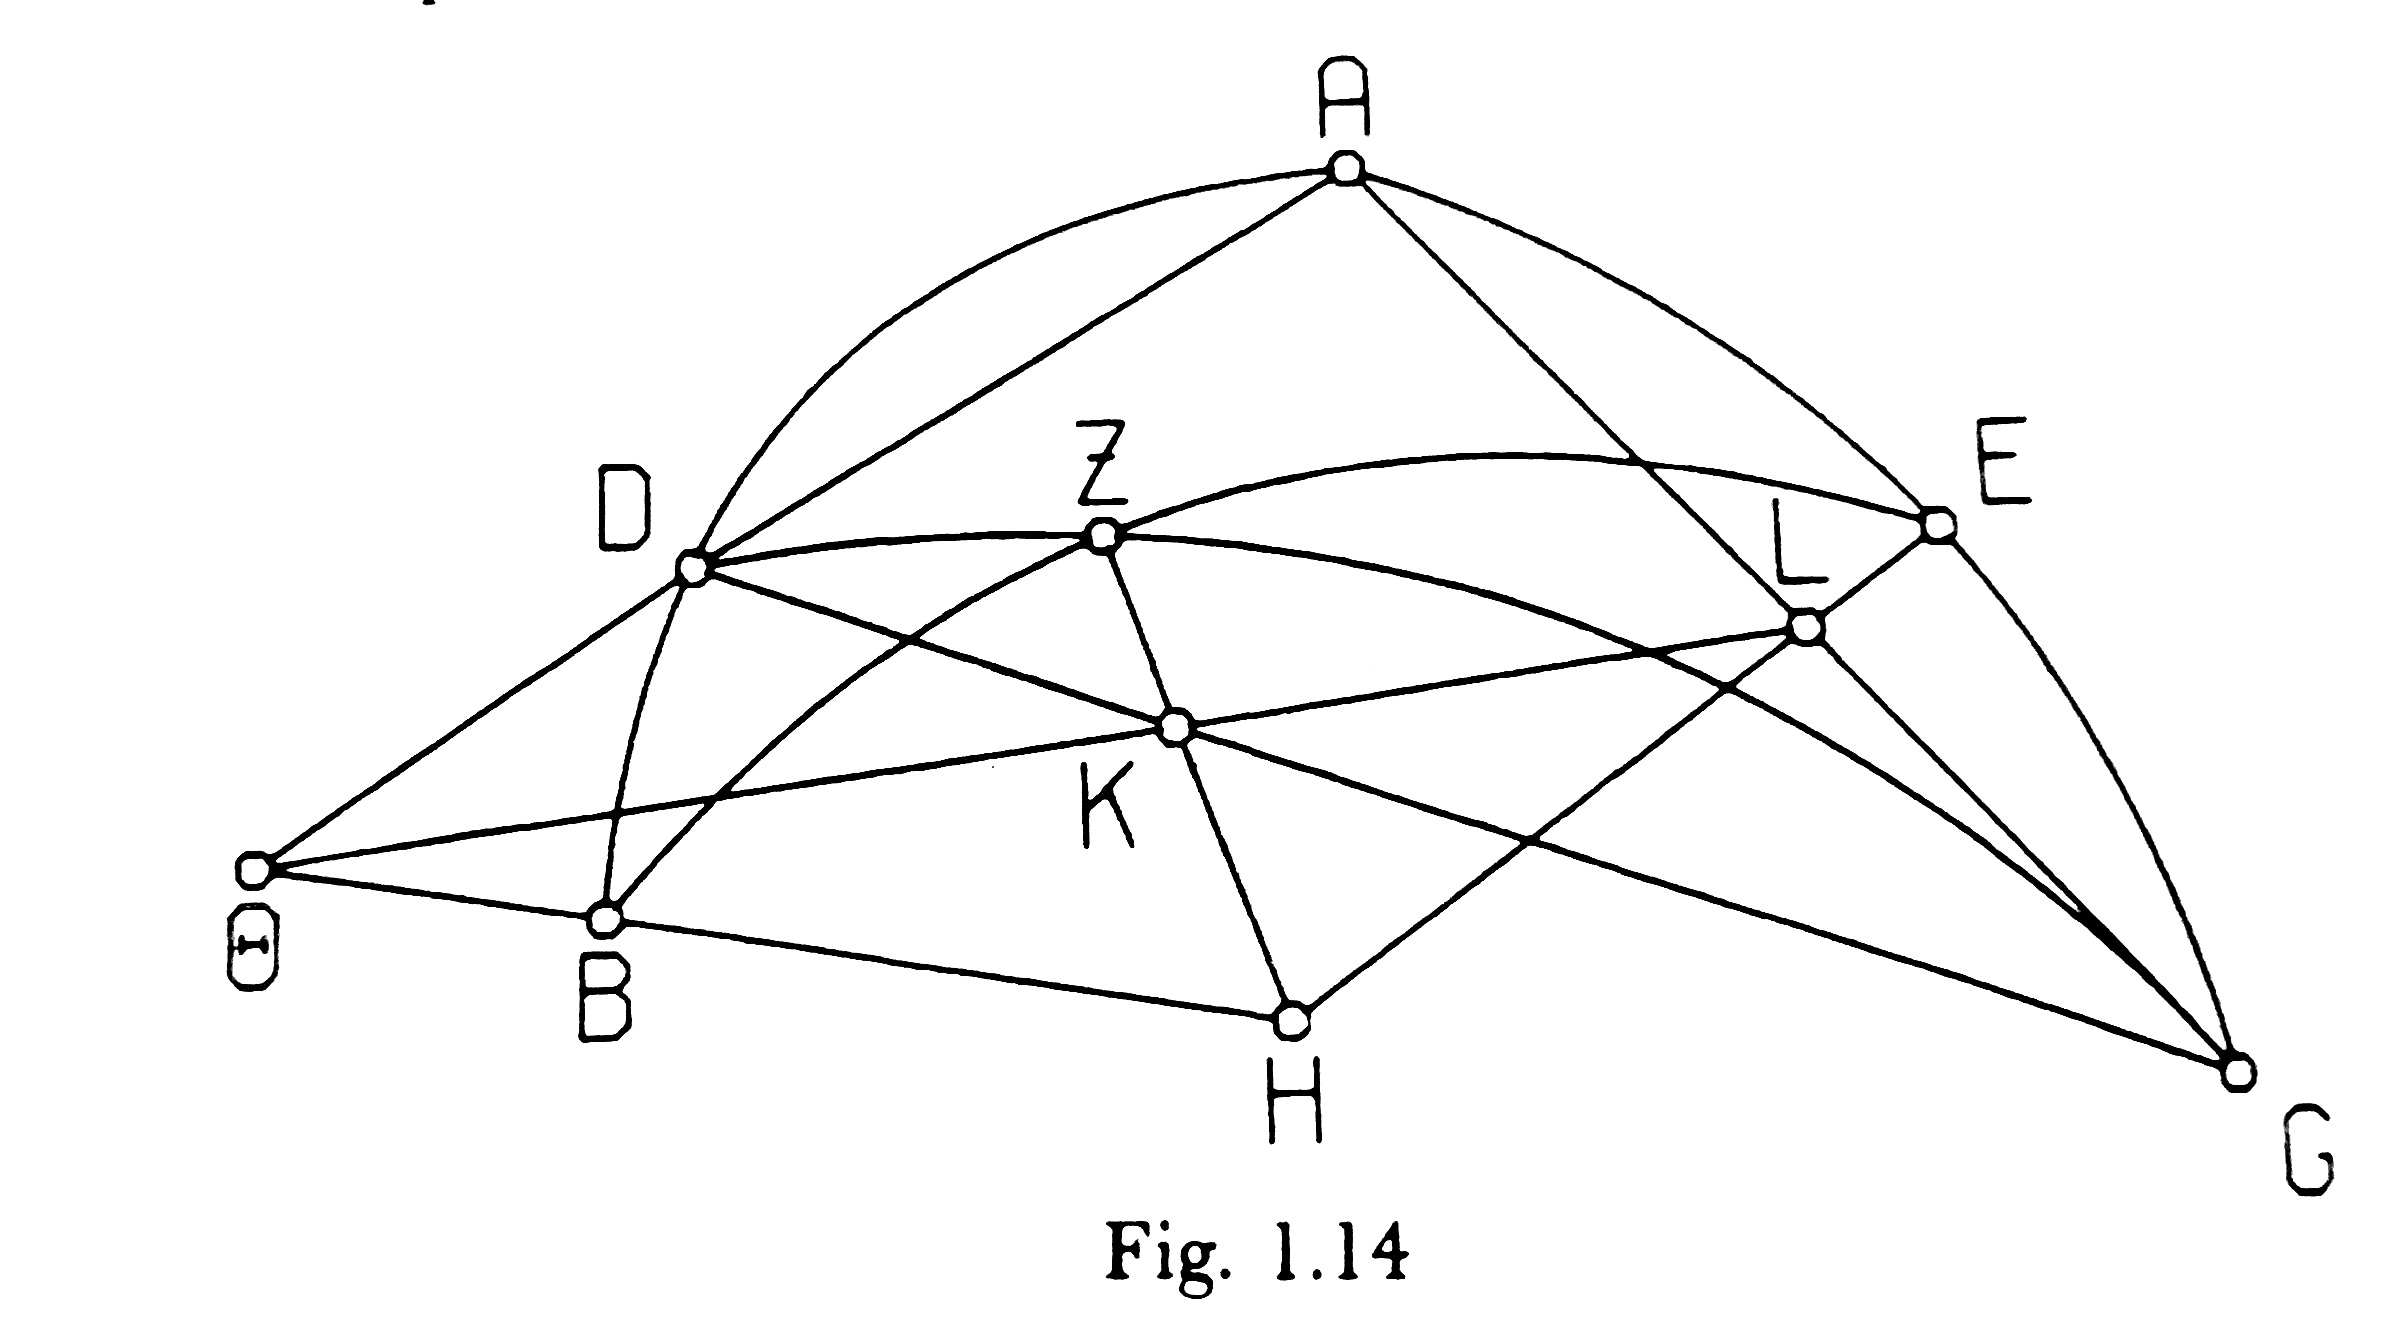
- This diagram has obviously gotten quite complicated. Here, I’ve tried to reproduce things in a somewhat 3D manner, but the diagram in the Almagest is distinctly flattened. Click here if you want to see it. In some respects, this presentation is much clearer as things aren’t as bunched up. However, I feel it loses the physicality of what’s going on which will become important shortly. As an alternative, my translation recommended another rendering from “A History of Ancient Mathematical Astronomy” by Neugebauer. I hunted down a copy and their drawing is more in line with mine, but still rather complicated. Click here to see that one.
- I’m assuming that this sentence should have read “…intersecting each other at K and L respectively.” otherwise it does not make sense.
- By which he means the diagram we used to prove 13.1